Pre-requisites
To better understand what nodes are, refer to the Nodes and WorkflowsOpening a Blank Workflow
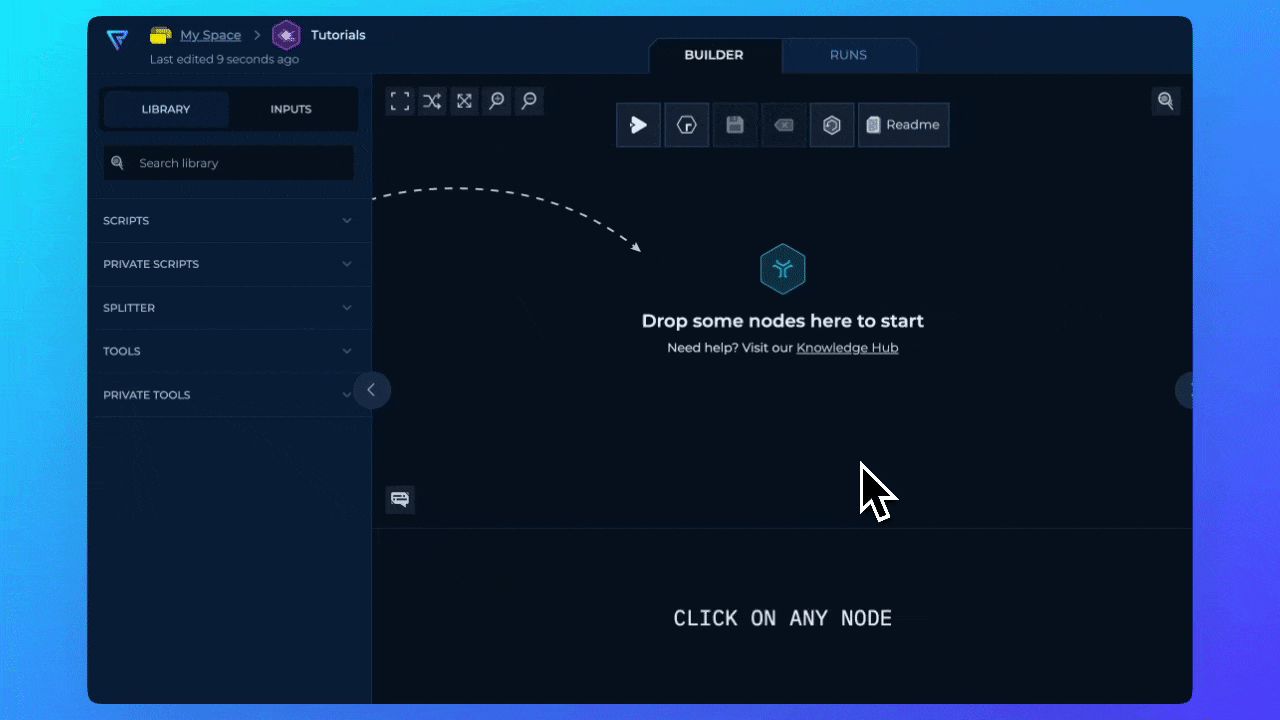
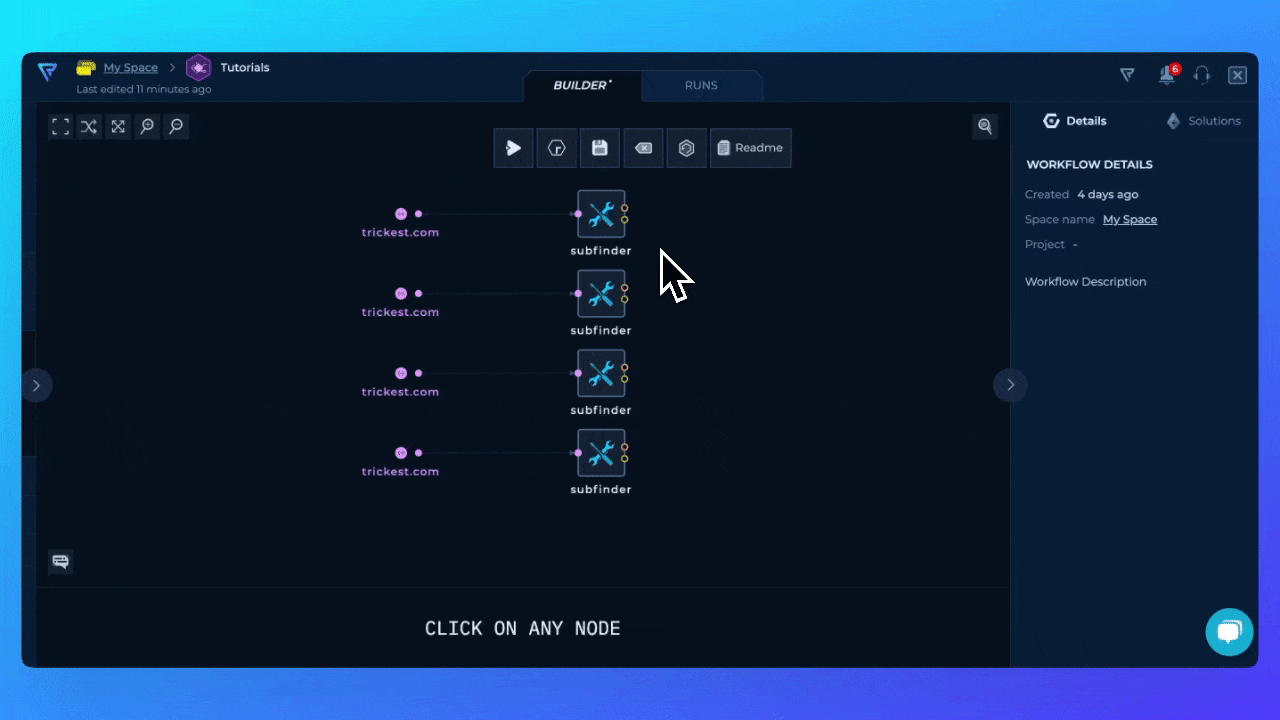
Let’s start by opening a blank workflow in the Workflow Editor. On the left side of the editor you will see Library with all of the nodes you can drag and drop into the editor.Adding Tools
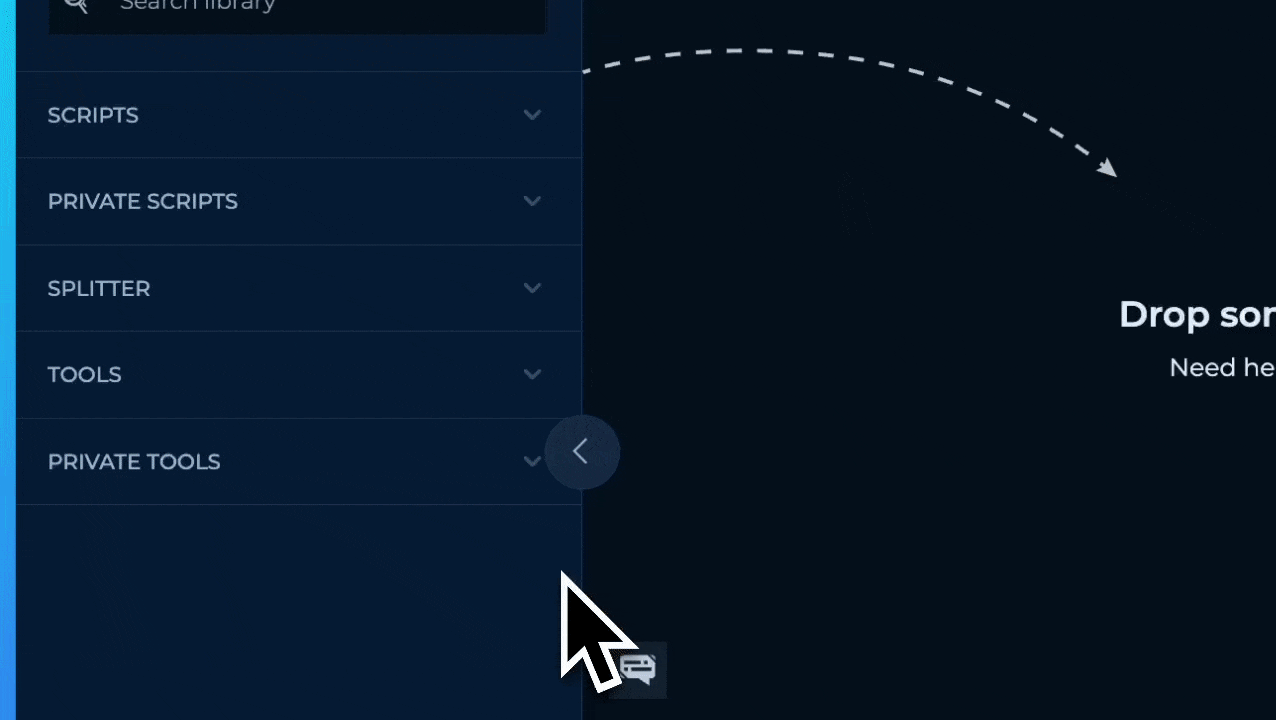
In the left sidebar, you will see aTools accordion. If you expand the accordion, you will see a list of categories of the tools available in the editor.
Let’s add a tool from Discovery category.
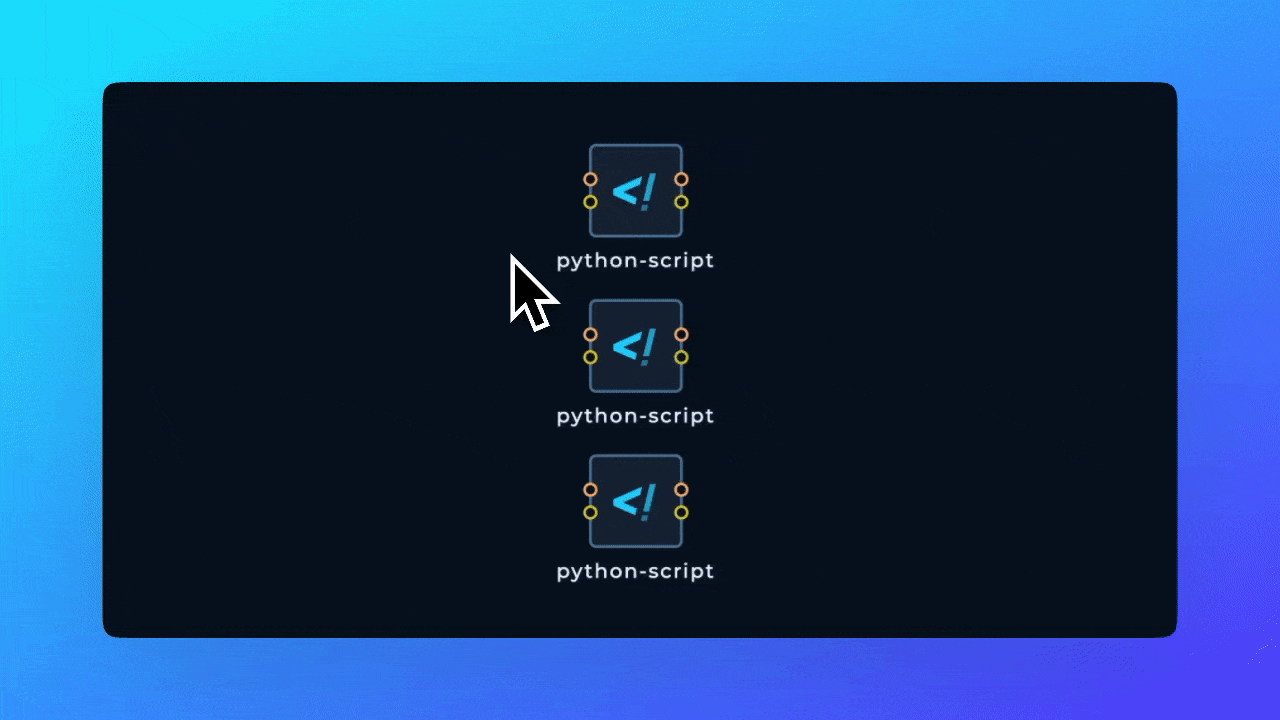
Adding Scripts
In the left sidebar, you will see aScripts accordion. If you expand the accordion, you will see a list of scripts available in the editor.
Let’s add a custom-script which is a bash enabled script used to build the scripts from scratch.
Adding Modules
In the left sidebar, you will see aModules accordion. If you expand the accordion, you will see a list of modules available in the editor.
Let’s add Scan for Open Ports module by using the search function.
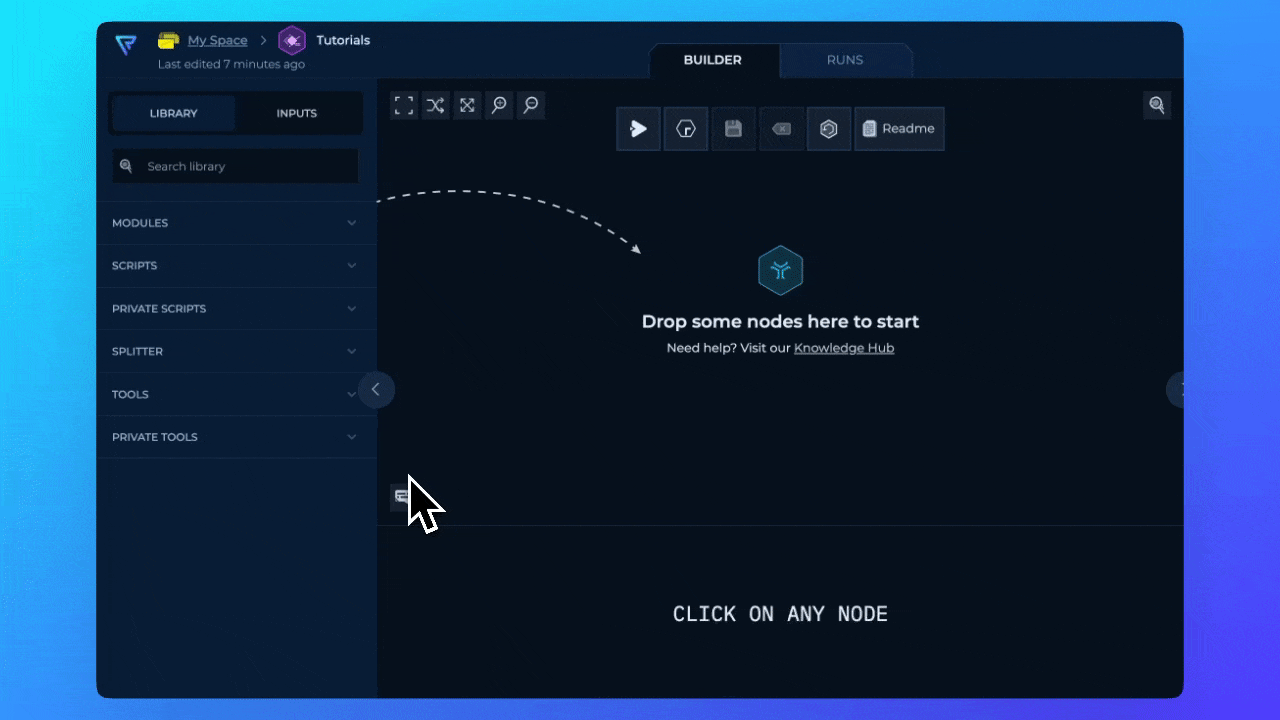
Adding Splitter
Splitter is a unique node allowing data to be splitted in different chunks. To learn more about the splitter, refer to the Splitter and Distribution. Splitter needs to be connected to File Input in order to split the lines in a file input in strings.
Deleting Nodes
To delete a node, you can click on the node and press theBackspace key on your keyboard.
Deleting Multiple Nodes
To delete multiple nodes, you can:- Select the nodes by holding
Shiftkey and clicking on the nodes. Then, pressBackspacekey on your keyboard.

- You can also select multiple nodes by dragging a selection box around the nodes. Then, press
Backspacekey on your keyboard.