Tools are the most common node type in the workflow editor. They are used to execute specific processes and tasks. Tools are the building blocks of a workflow and are used to perform a wide range of tasks, from simple to complex.
Tools are used to execute specific processes and tasks, in this section we will cover how to configure a single tool and how commands of the tools are generated.
Enable Parameters
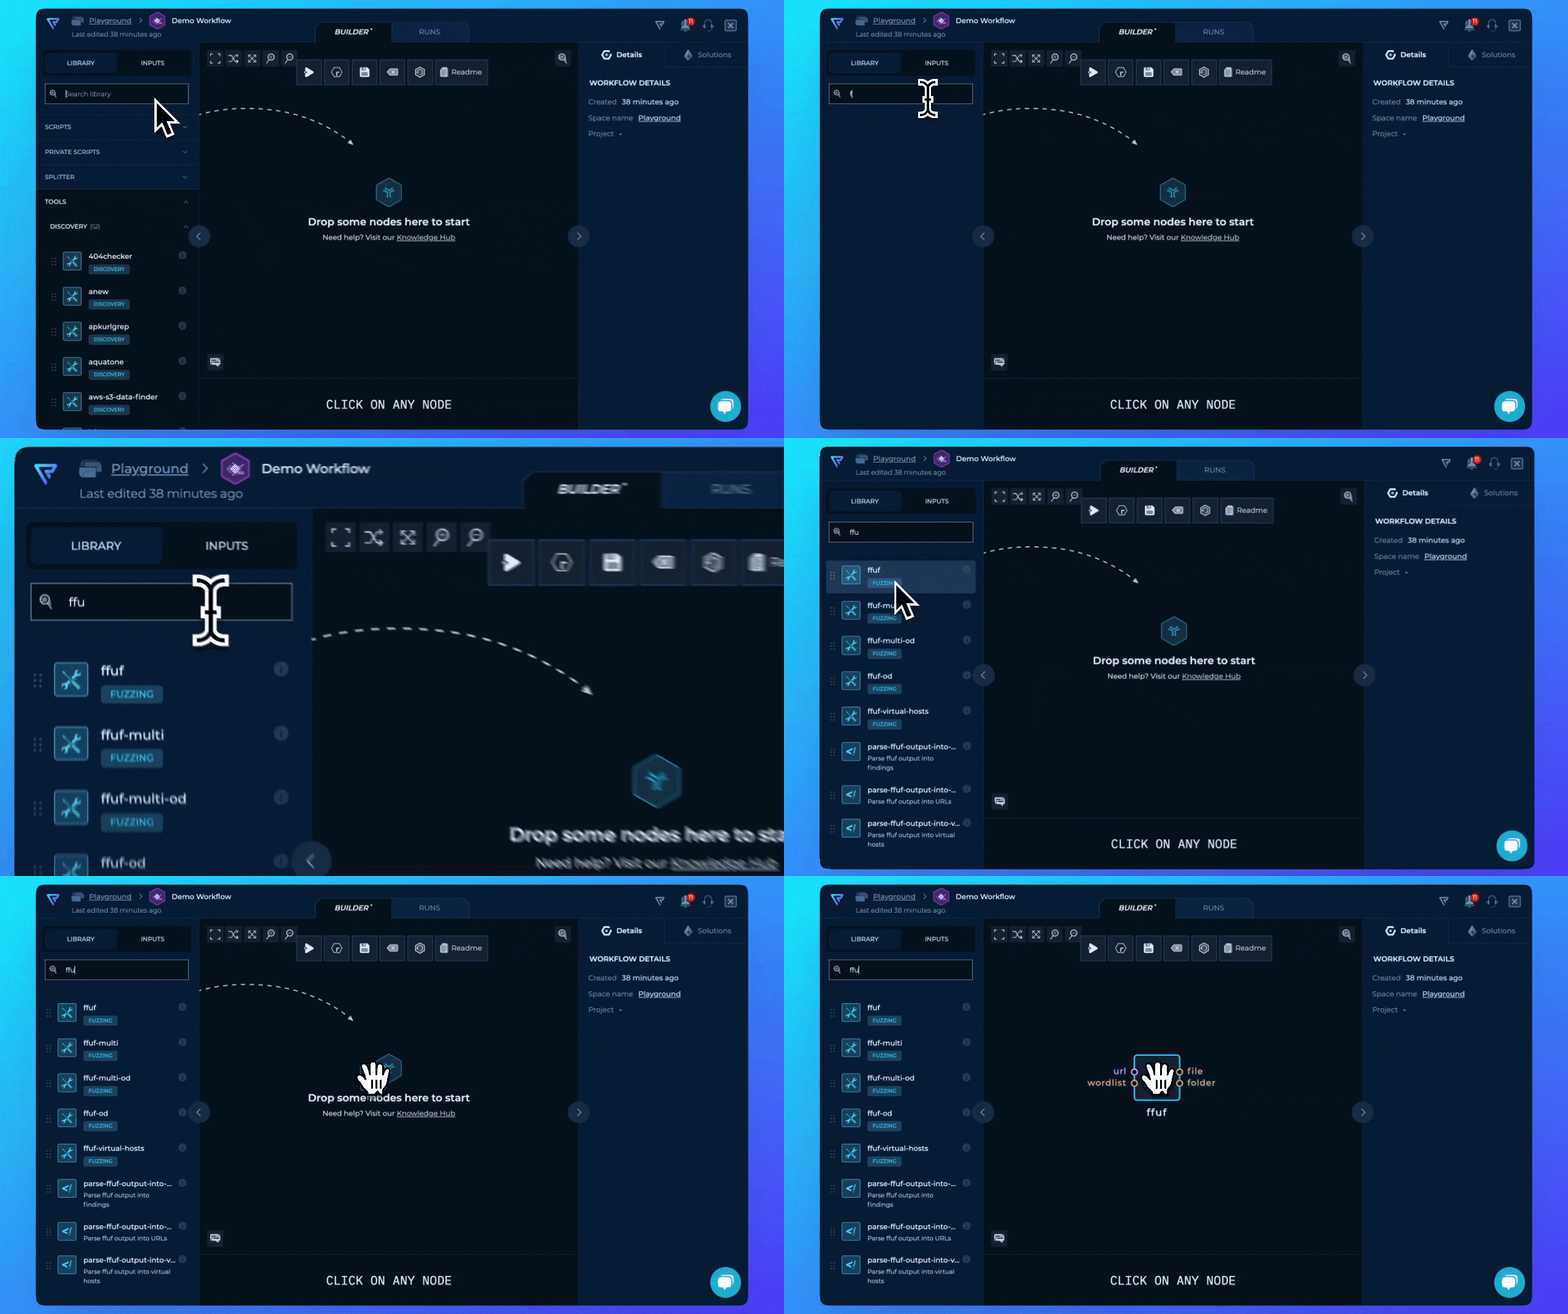
Let’s start by adding a new tool to the workflow. We will use ffuf tool to perform a directory brute force attack on a target URL.
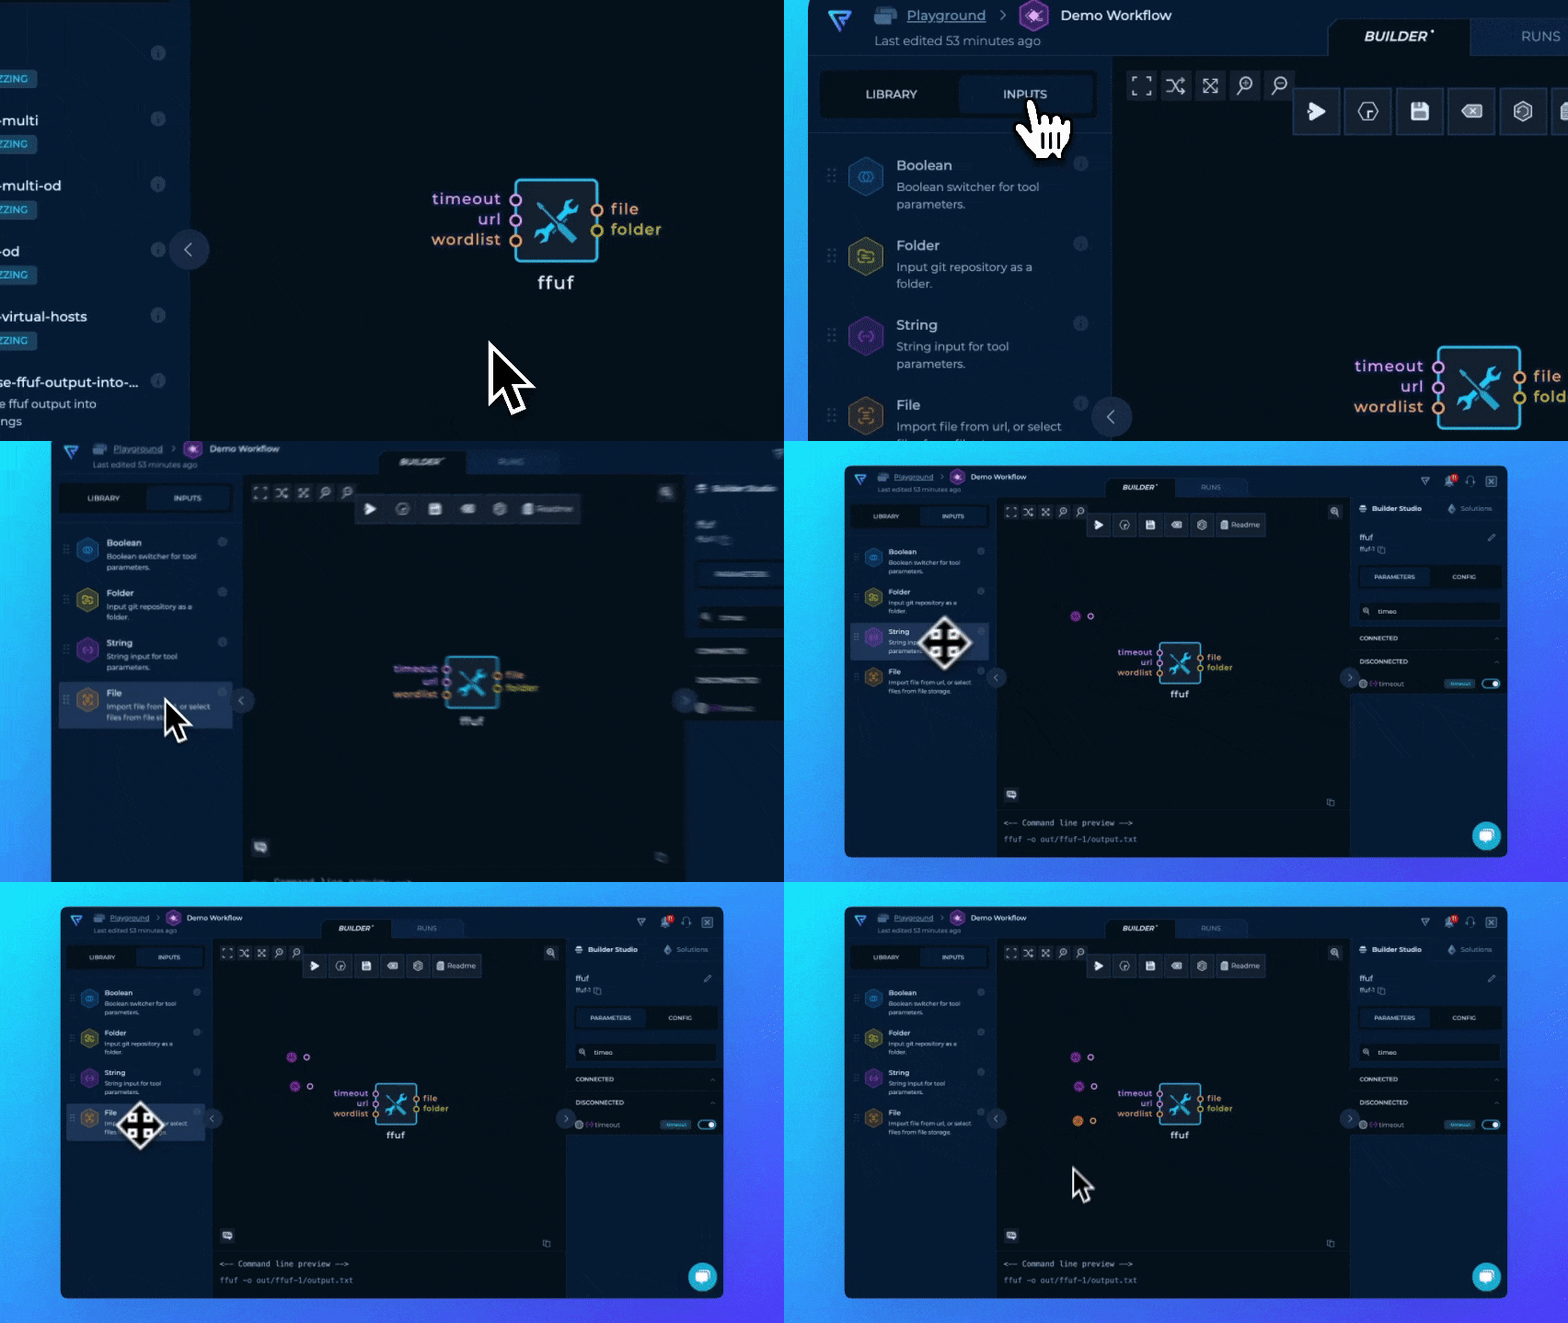
Now, let’s configure the ffuf tool. We want to add timeout parameter to be used as additional input parameter besides required inputs. By using click you will be presented with the configuration of the tool in the right sidebar.
Now we have all needed input parameters for ffuf to be configured.
url - Target URL on which we will execute directory brute forcewordlist - Wordlist that will be used for directory brute forcetimeout - Additional parameter to set HTTP request timeout
There are three main ways to add inputs to the tools:
- Drag & Drop Inputs - Drag and drop the input from the left sidebar and connect it to the tool
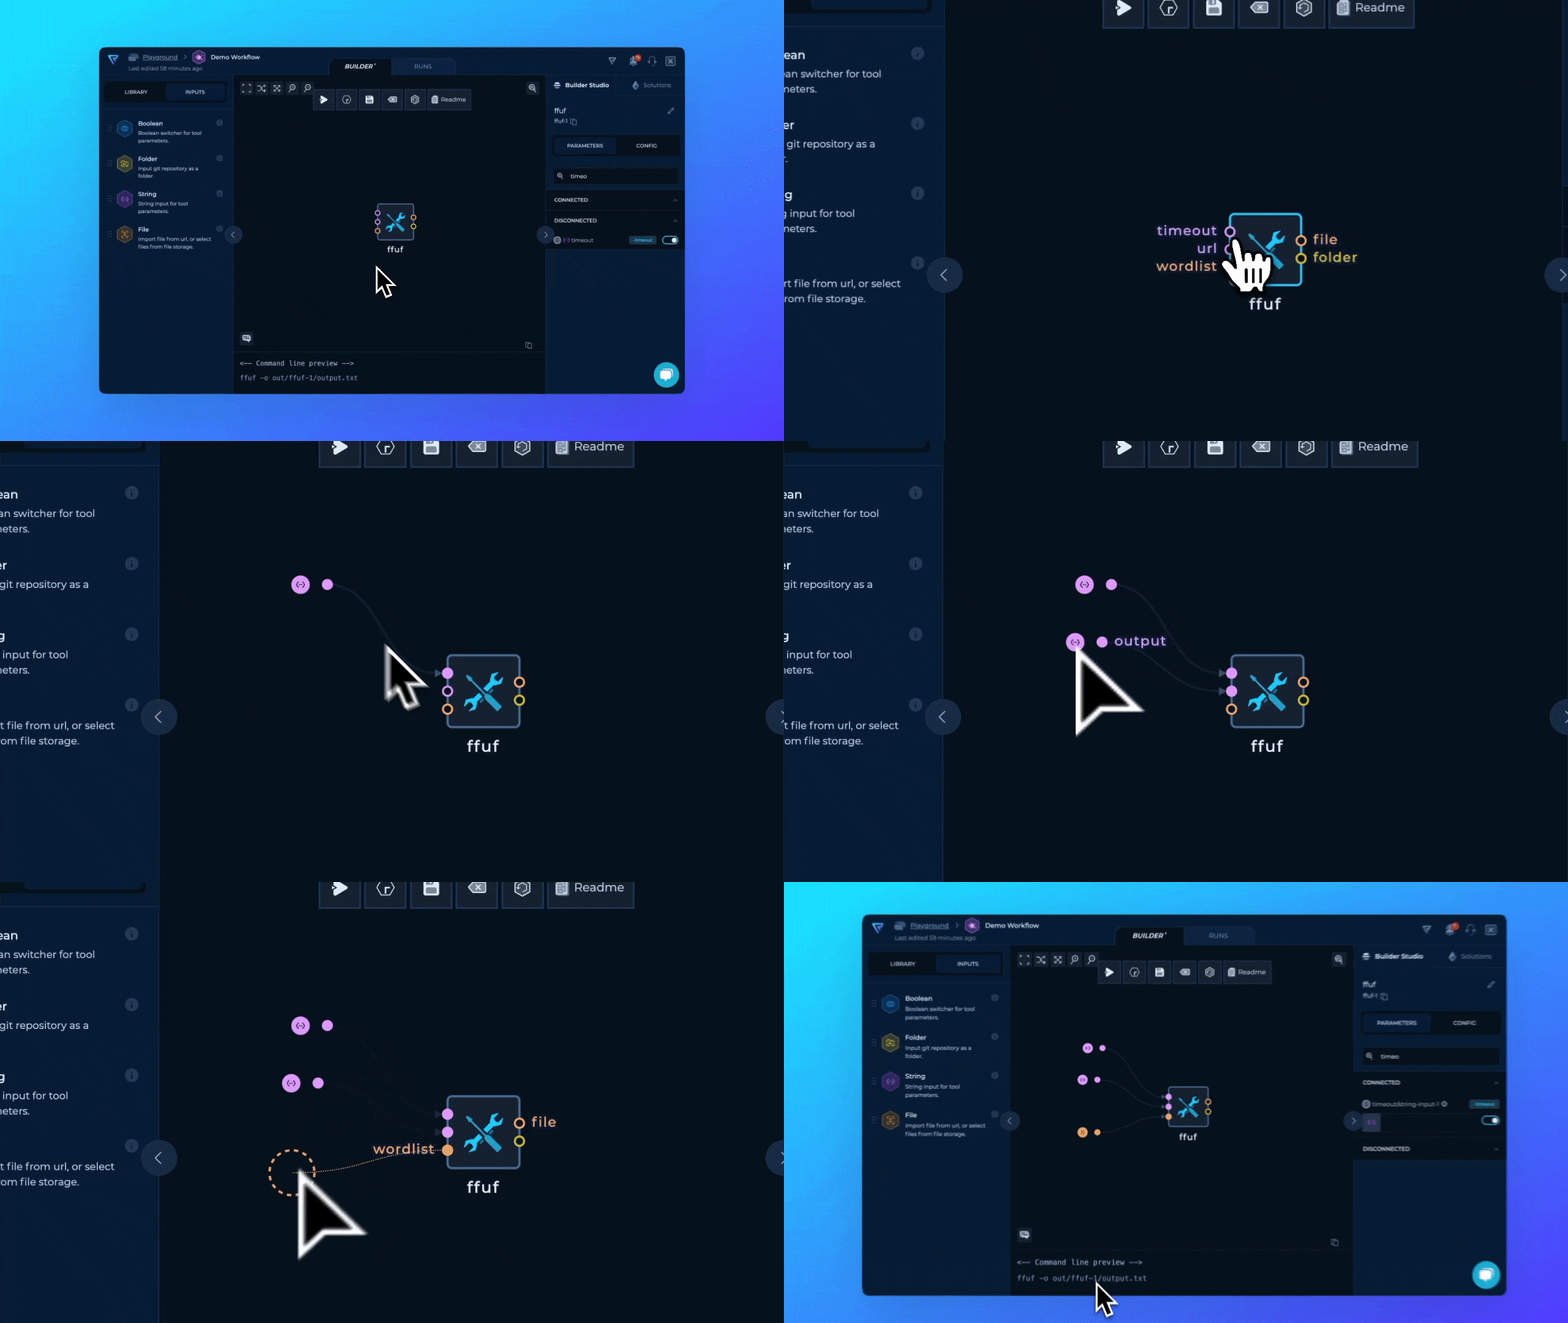
2 Click & Connect - Click on the parameter and create explicit input
- Connect from other nodes t - Connect the output of another node to the input of the tool
Since we have just one tool we are going to cover first two ways.
On the left sidebar, along with the Library of the tools, you can find the Inputs section. Here you can find all available inputs that can be used in the workflow.
Click & Connect
Other way to add inputs to the tool is to click on the parameter and create explicit input. This way you don’t need to think about the Node Inputs and their types, and then create connection. Connection will be automatically created.
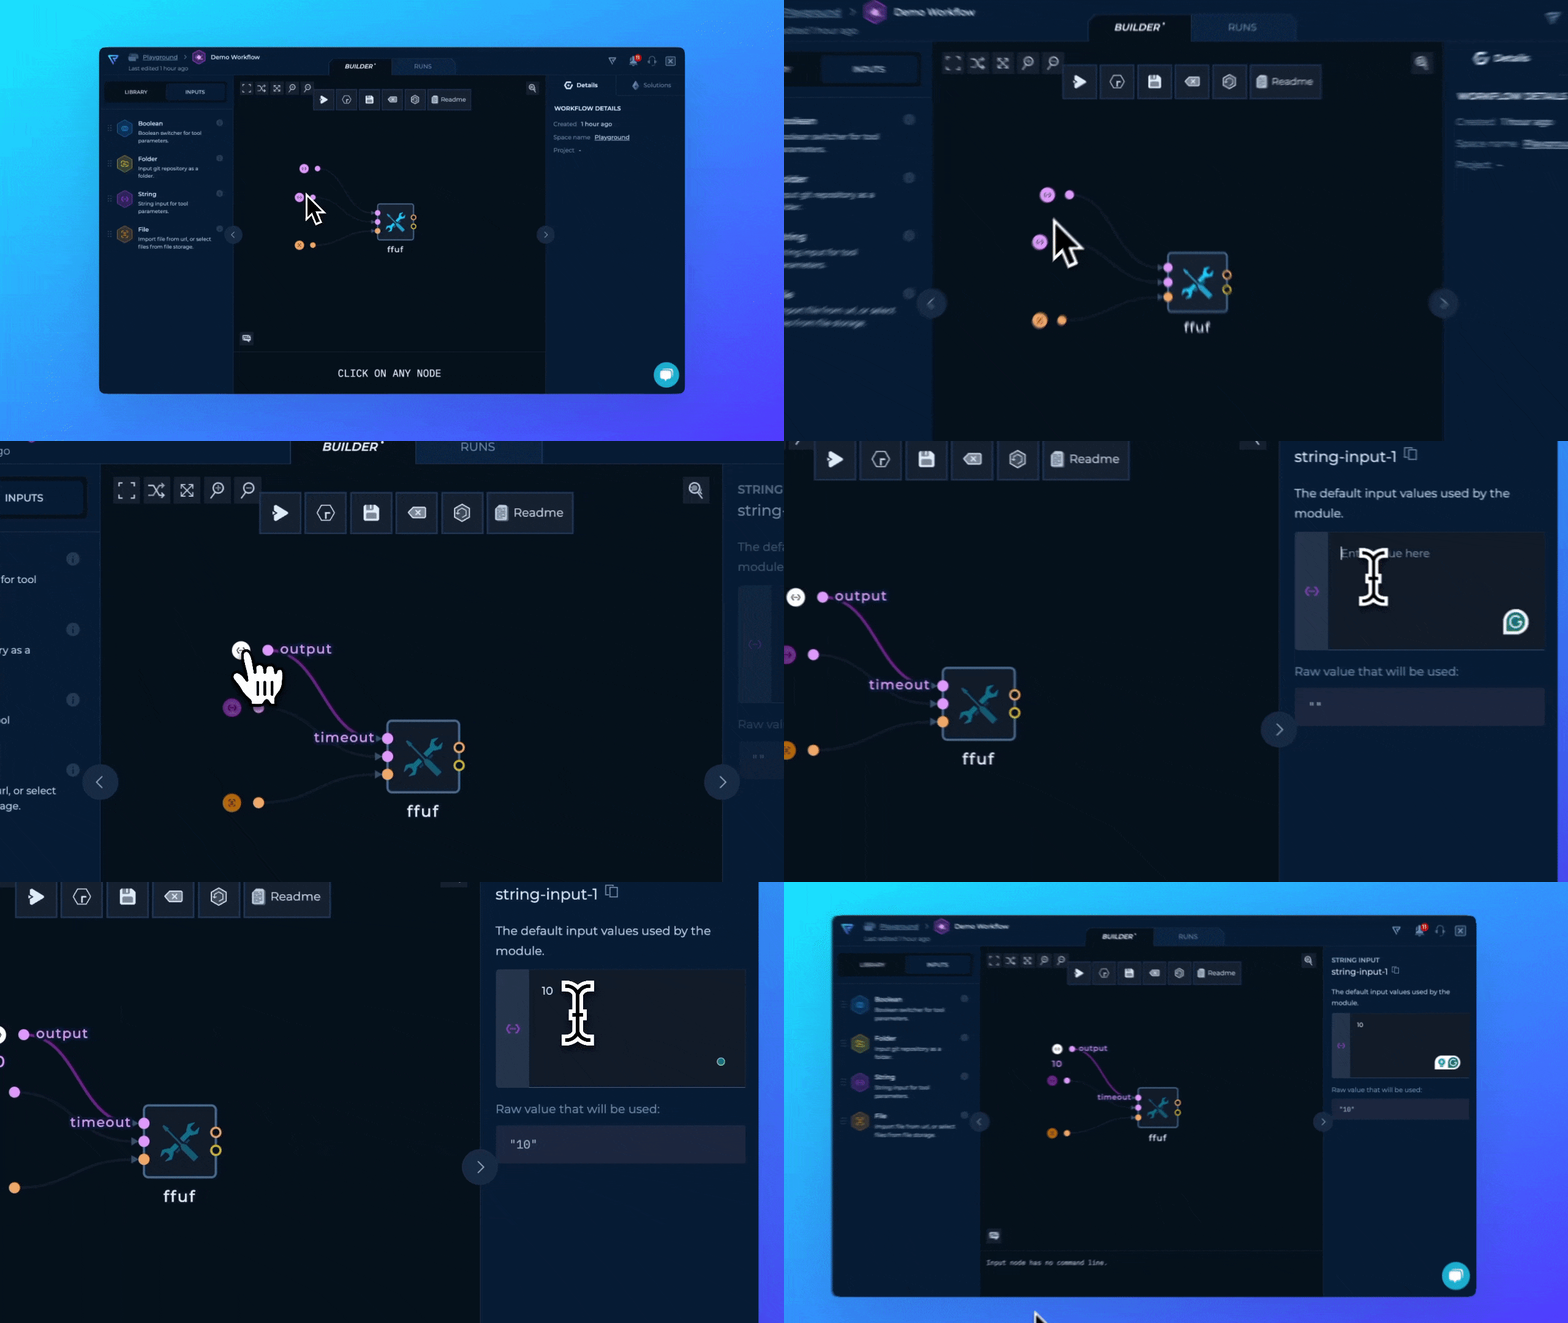
For each input we created we need to provide value to be used by the tool. In this case ffuf.
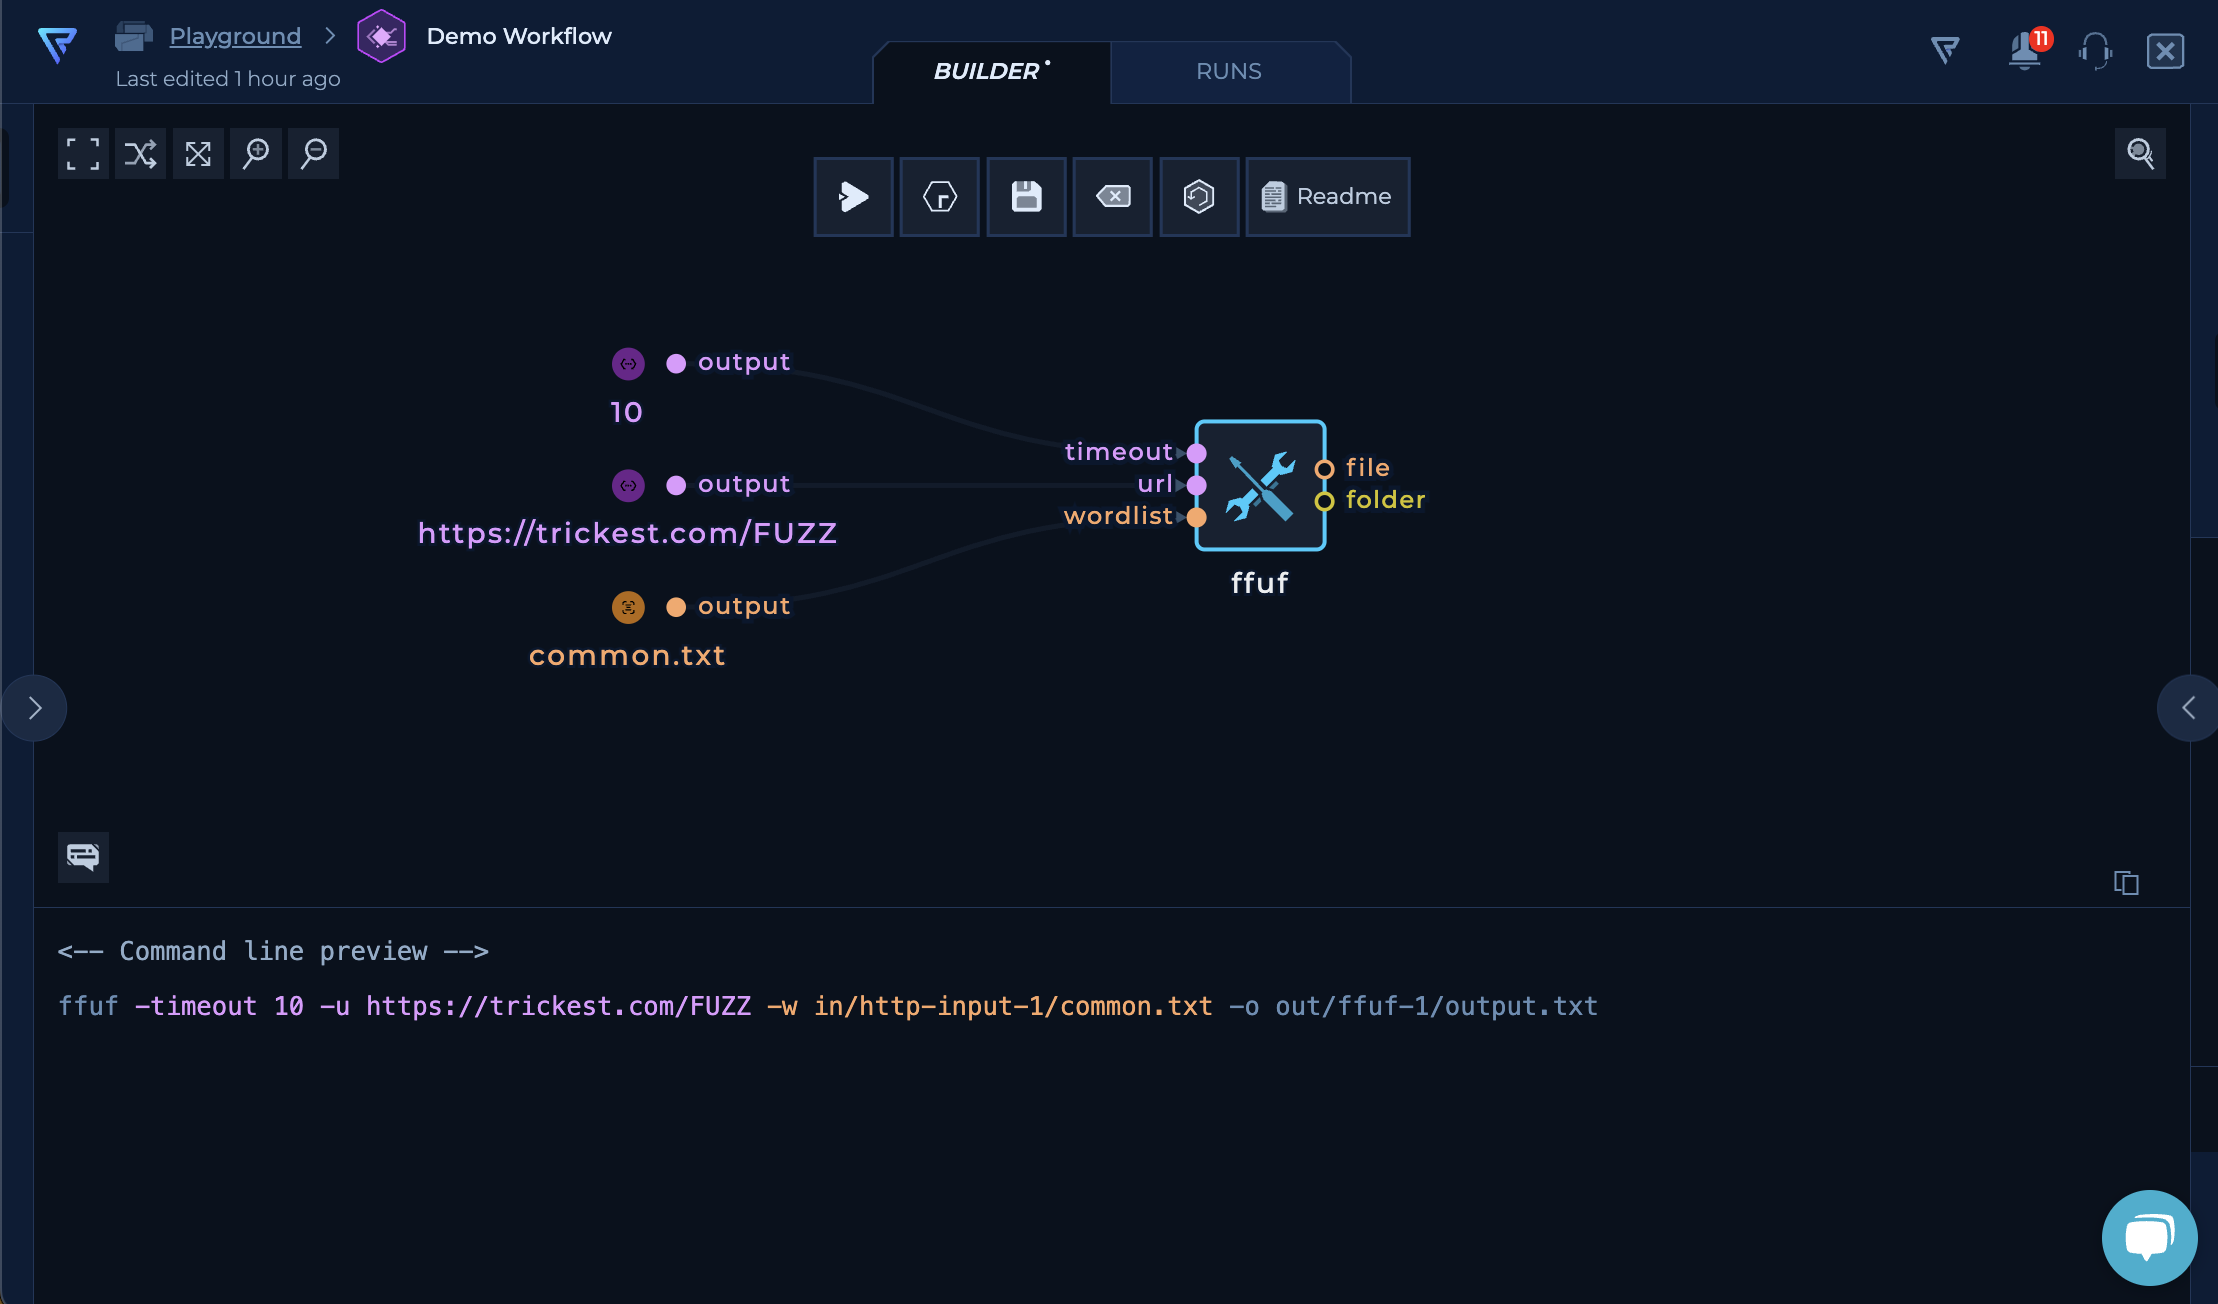
url will have value of https://trickest.com/FUZZ as string inputwordlist will have value of common.txt as file inputtimeout will have value of 10 as number input
FUZZ in this context is ffuf’s way of providing place holder for brute force attack.
Adding Timeout Values
By clicking on the connected node, right sidebar will present different types of inputs and configuration we can do for each Node Input Type.
Adding URL Values
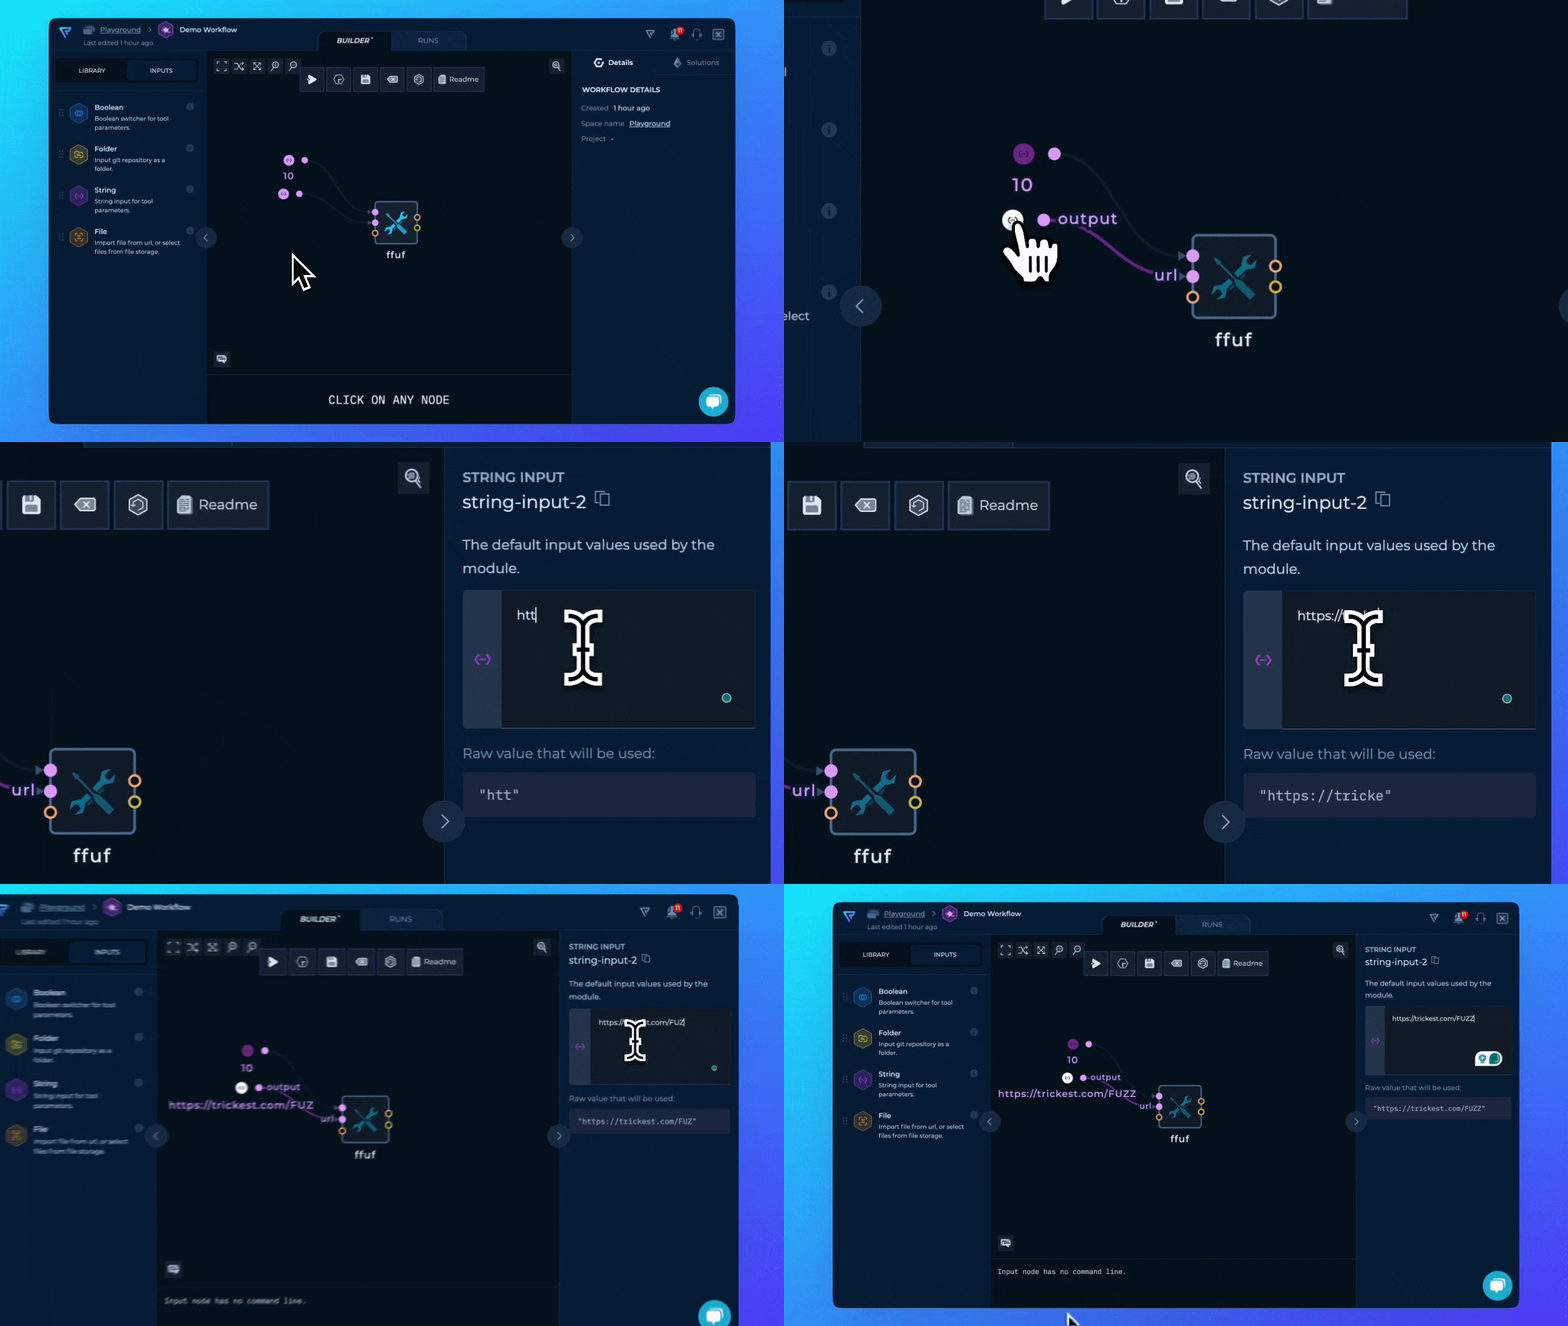
Now, lets add our URL https://trickest.com/FUZZ as a string input to the url parameter.
Adding Wordlist Values
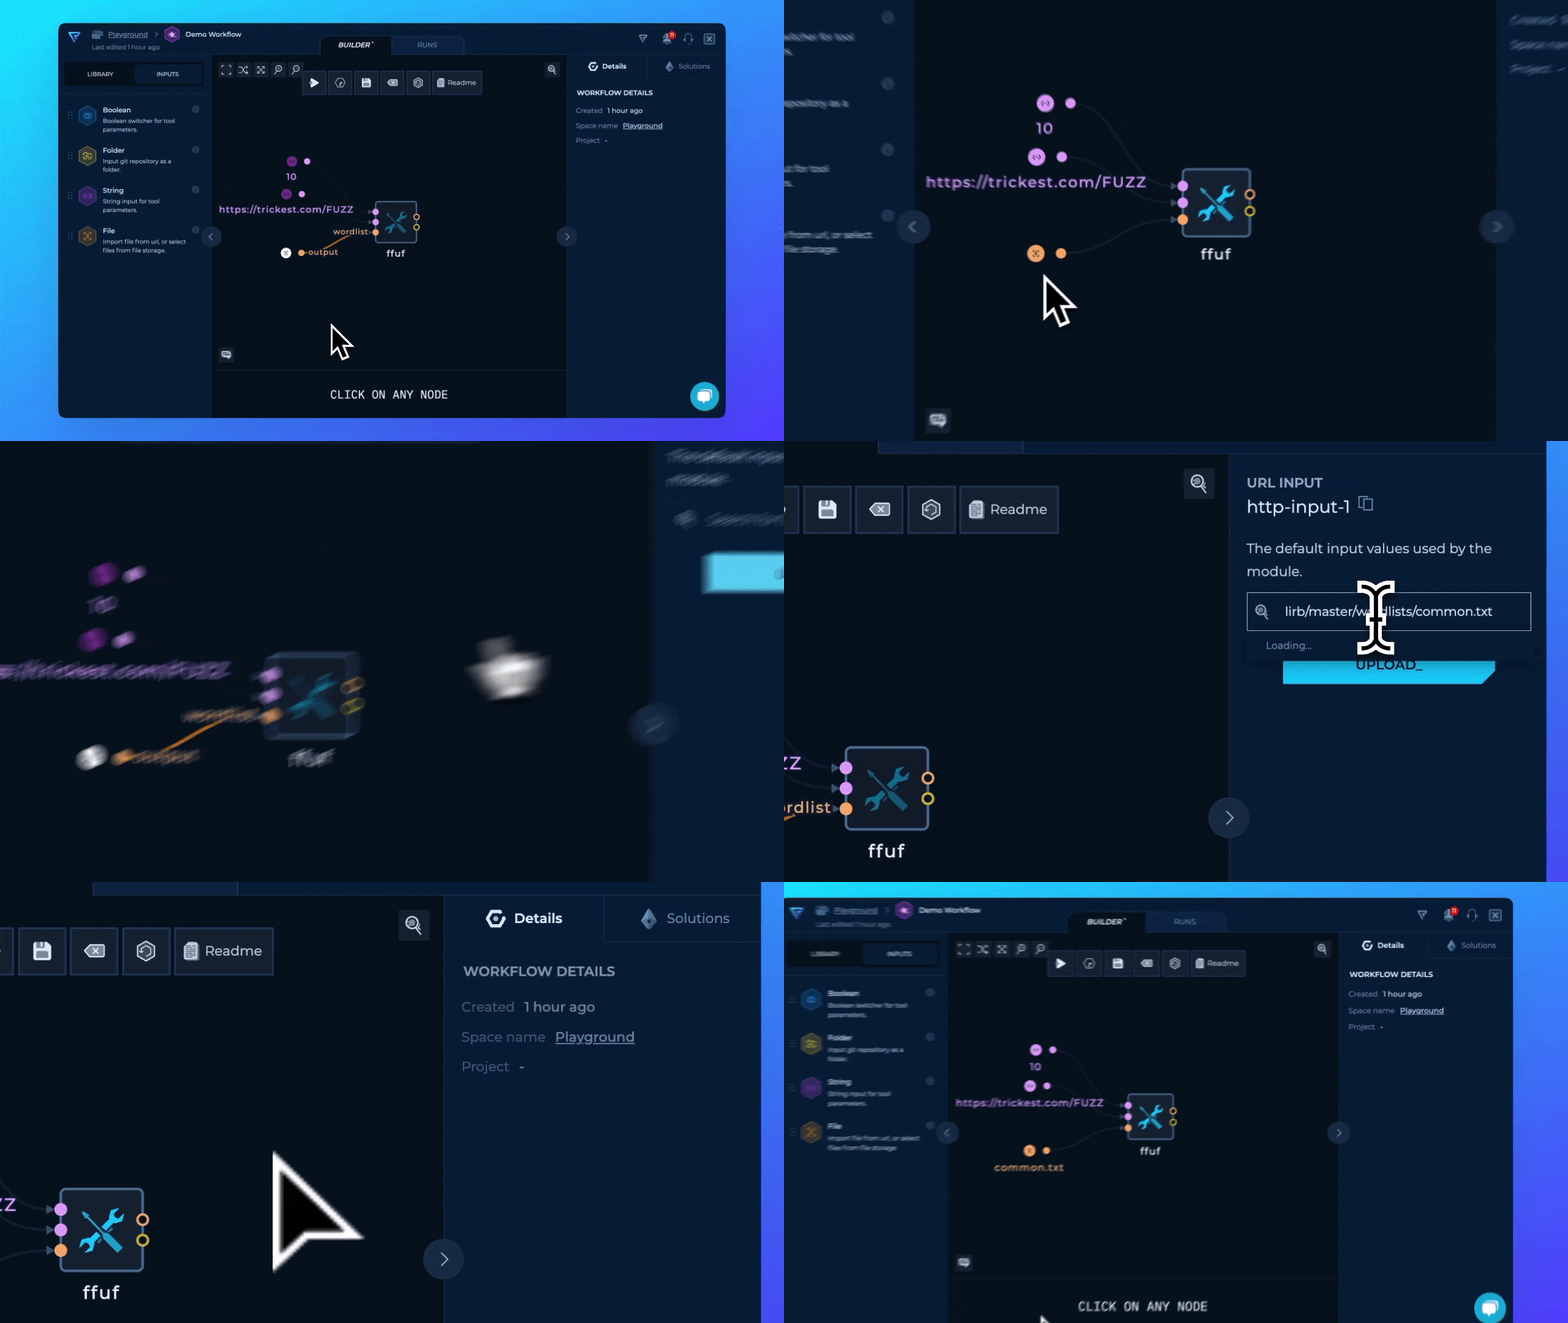
For wordlist, we will use raw common.txt URL available from GitHub.
Do not mistake string values with file values, in the previous example we’ve added string as input for ffuf, it just happened that ffuf needs URL to work properly. For wordlist, we are adding a URL from which the file can be downloaded
Command Generation
After we’ve configured all needed inputs for the ffuf tool the command that will be automatically generated.
Now, let’s move to the next section, how to use Scripts to parse ffuf output and extract information. 