Introduction
Modules are packaged, reusable workflows designed to handle specific tasks within other workflows. We’ll start by walking you through the basics of creating your first module. Then, we’ll explore additional concepts that can enhance the quality, usability, and reliability of your modules, and save you time in the long run. Finally, we’ll wrap up with quick tips and ideas to keep in mind while developing modules.Building Your First Module
1. Navigate to the Modules Page
You can find it on the left sidebar of the platform.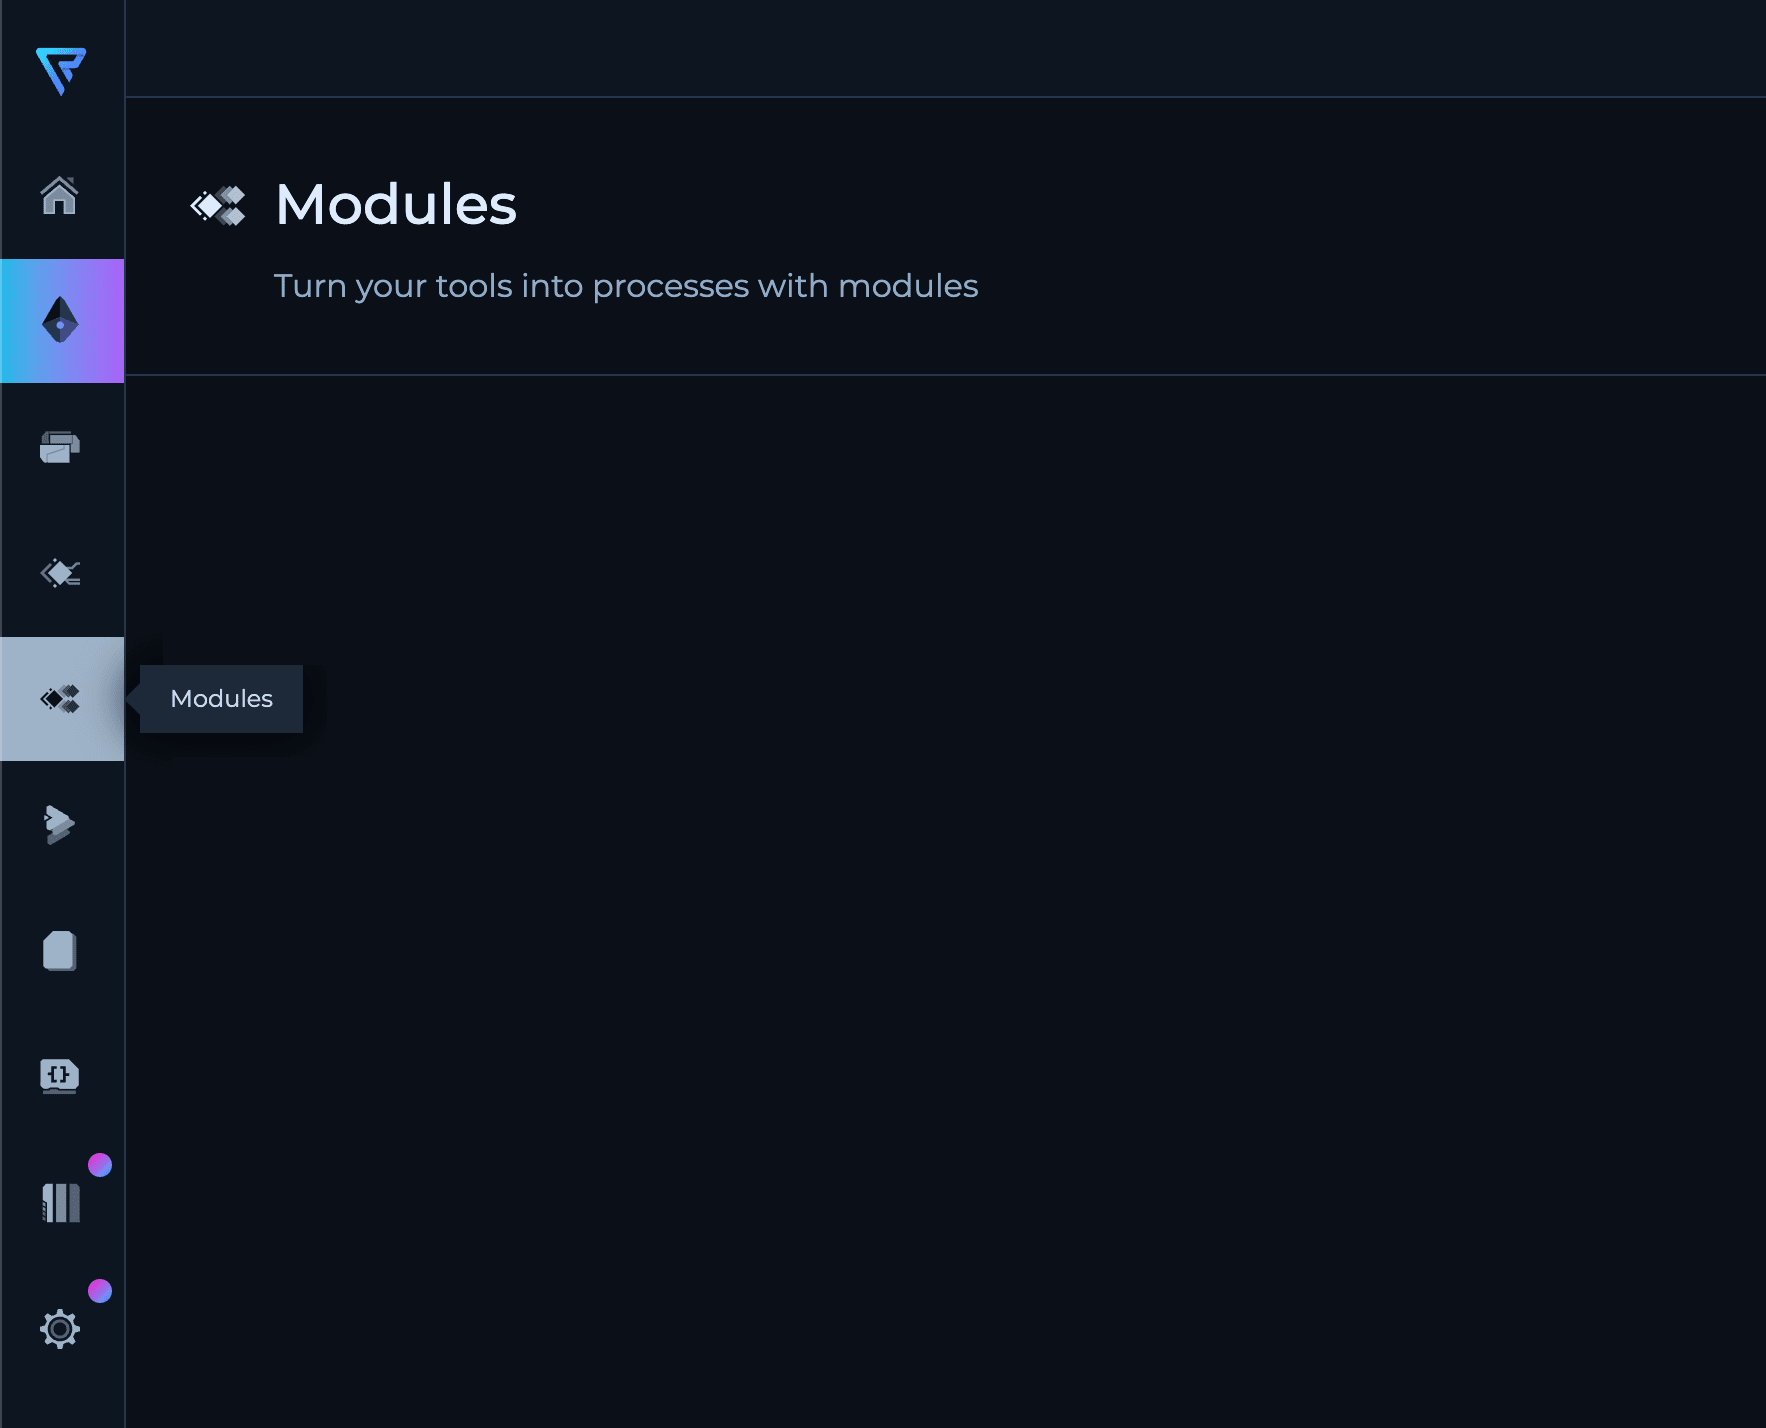
2. Create a New Module
Click on “Create Module” to begin. You’ll need to give your module a name and a description. This helps you and others understand what the module does at a glance.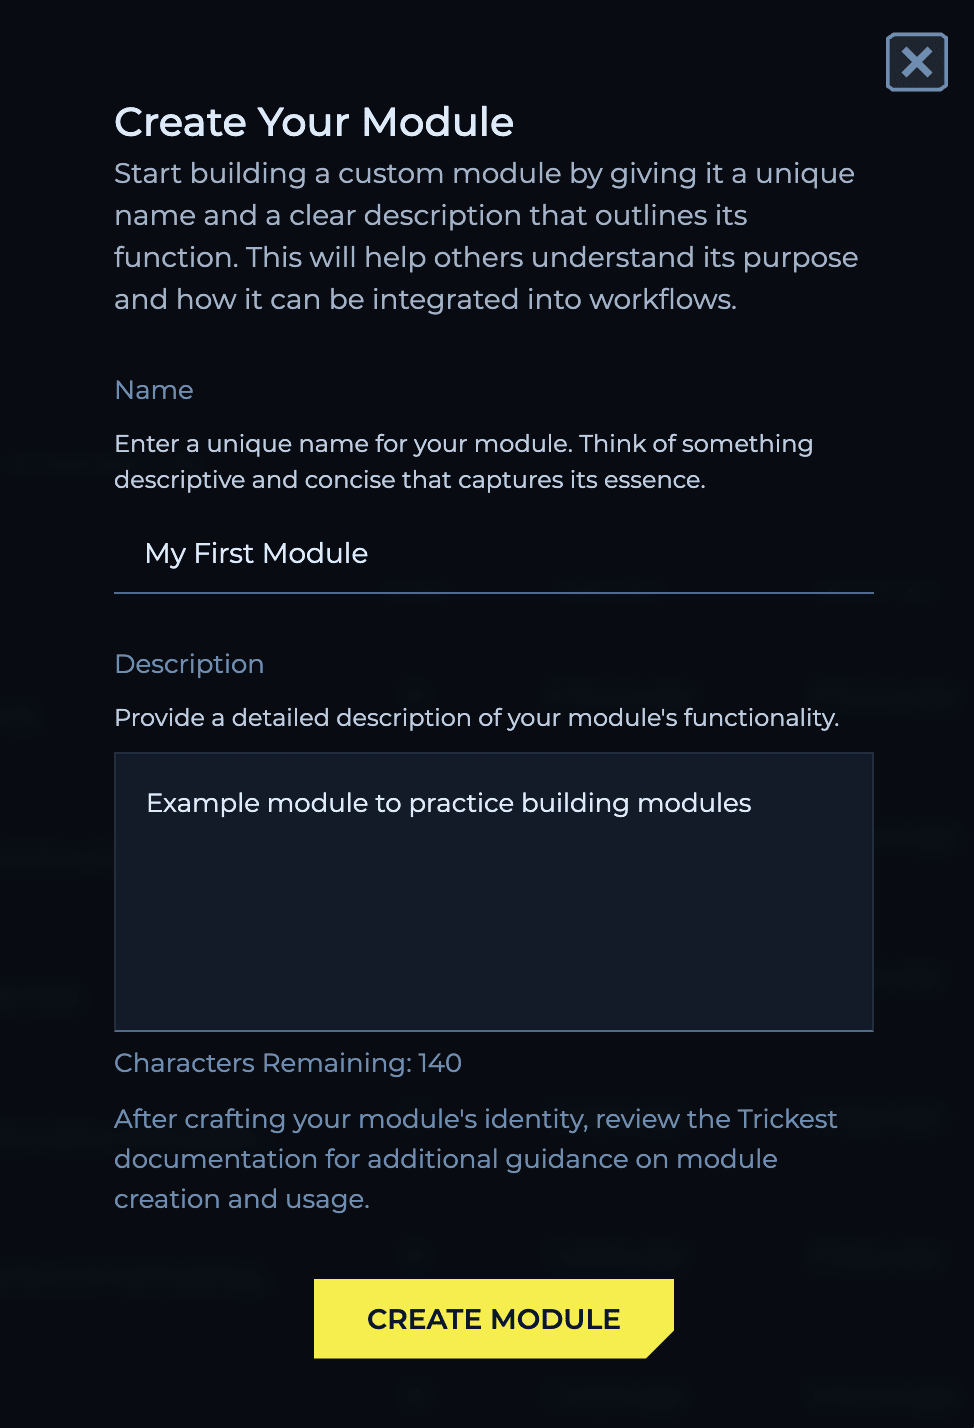
3. Open the Workflow Editor
Once you’ve named and described your module, open it, and you’ll be taken to the workflow editor. Here, you can start building your workflow just as you normally would.
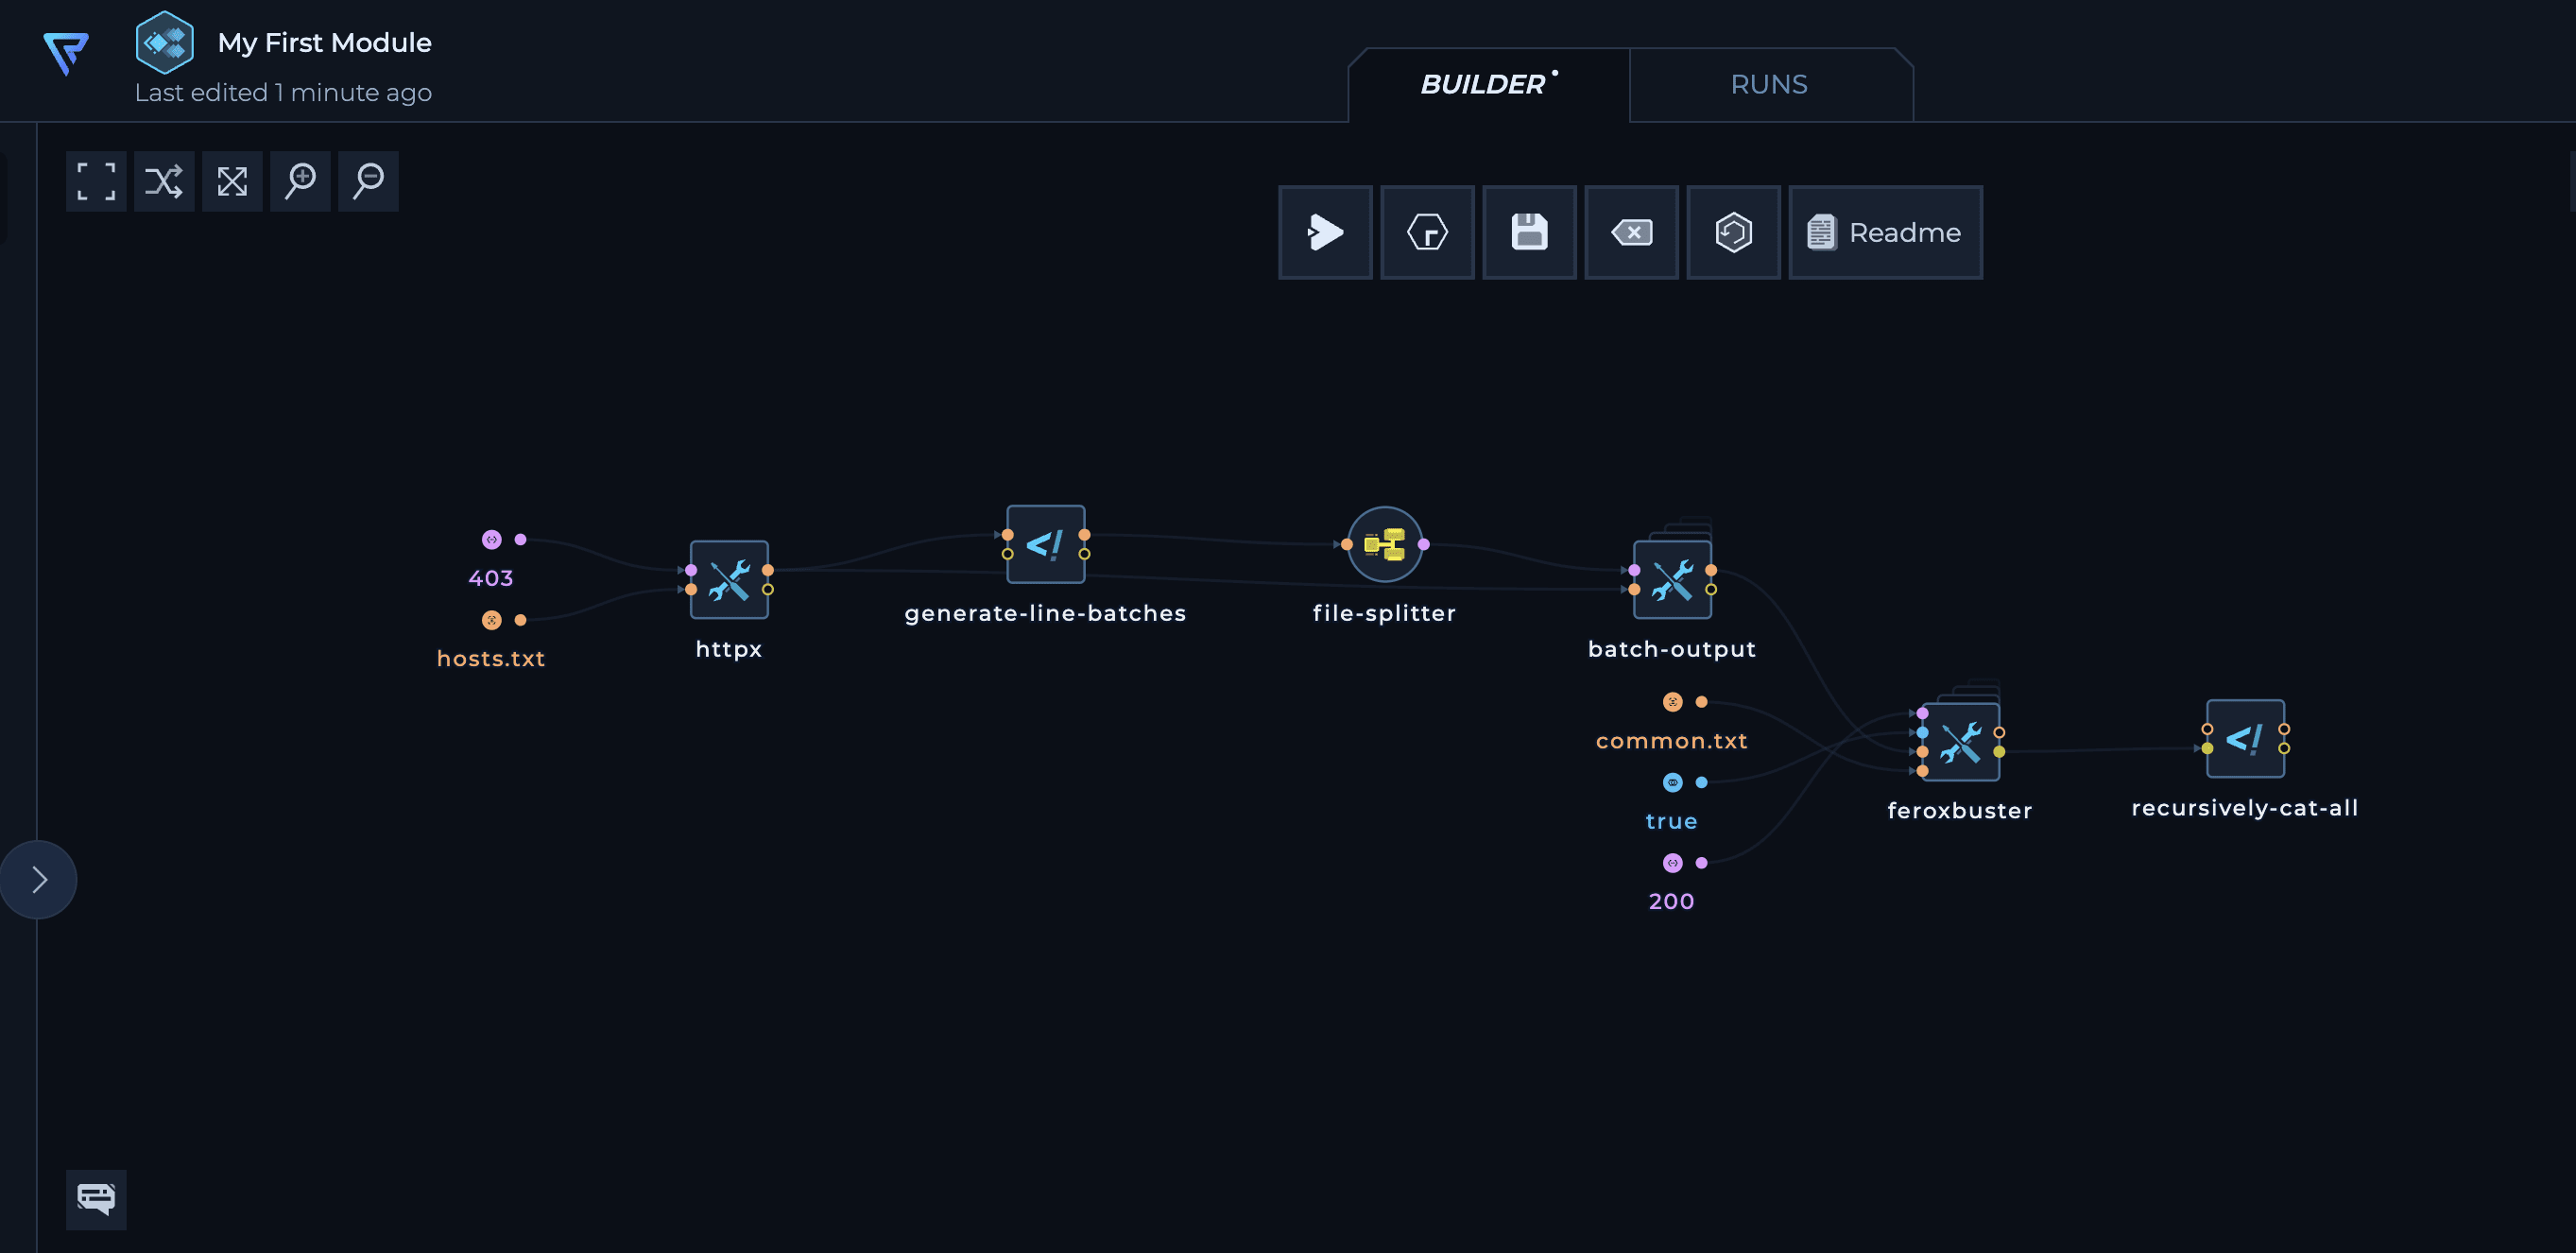
4. Build Your Workflow
You can either start from scratch or copy and paste an existing workflow. For example, you might create a workflow that useshttpx to find web servers returning a 403 response. Next, it could brute force these servers for paths using feroxbuster to find any paths that return a 200 status code. You might also include a batching pattern (file-splitter, generate-line-batches, and batch-output) to distribute the feroxbuster execution across multiple machines.
5. Define Inputs
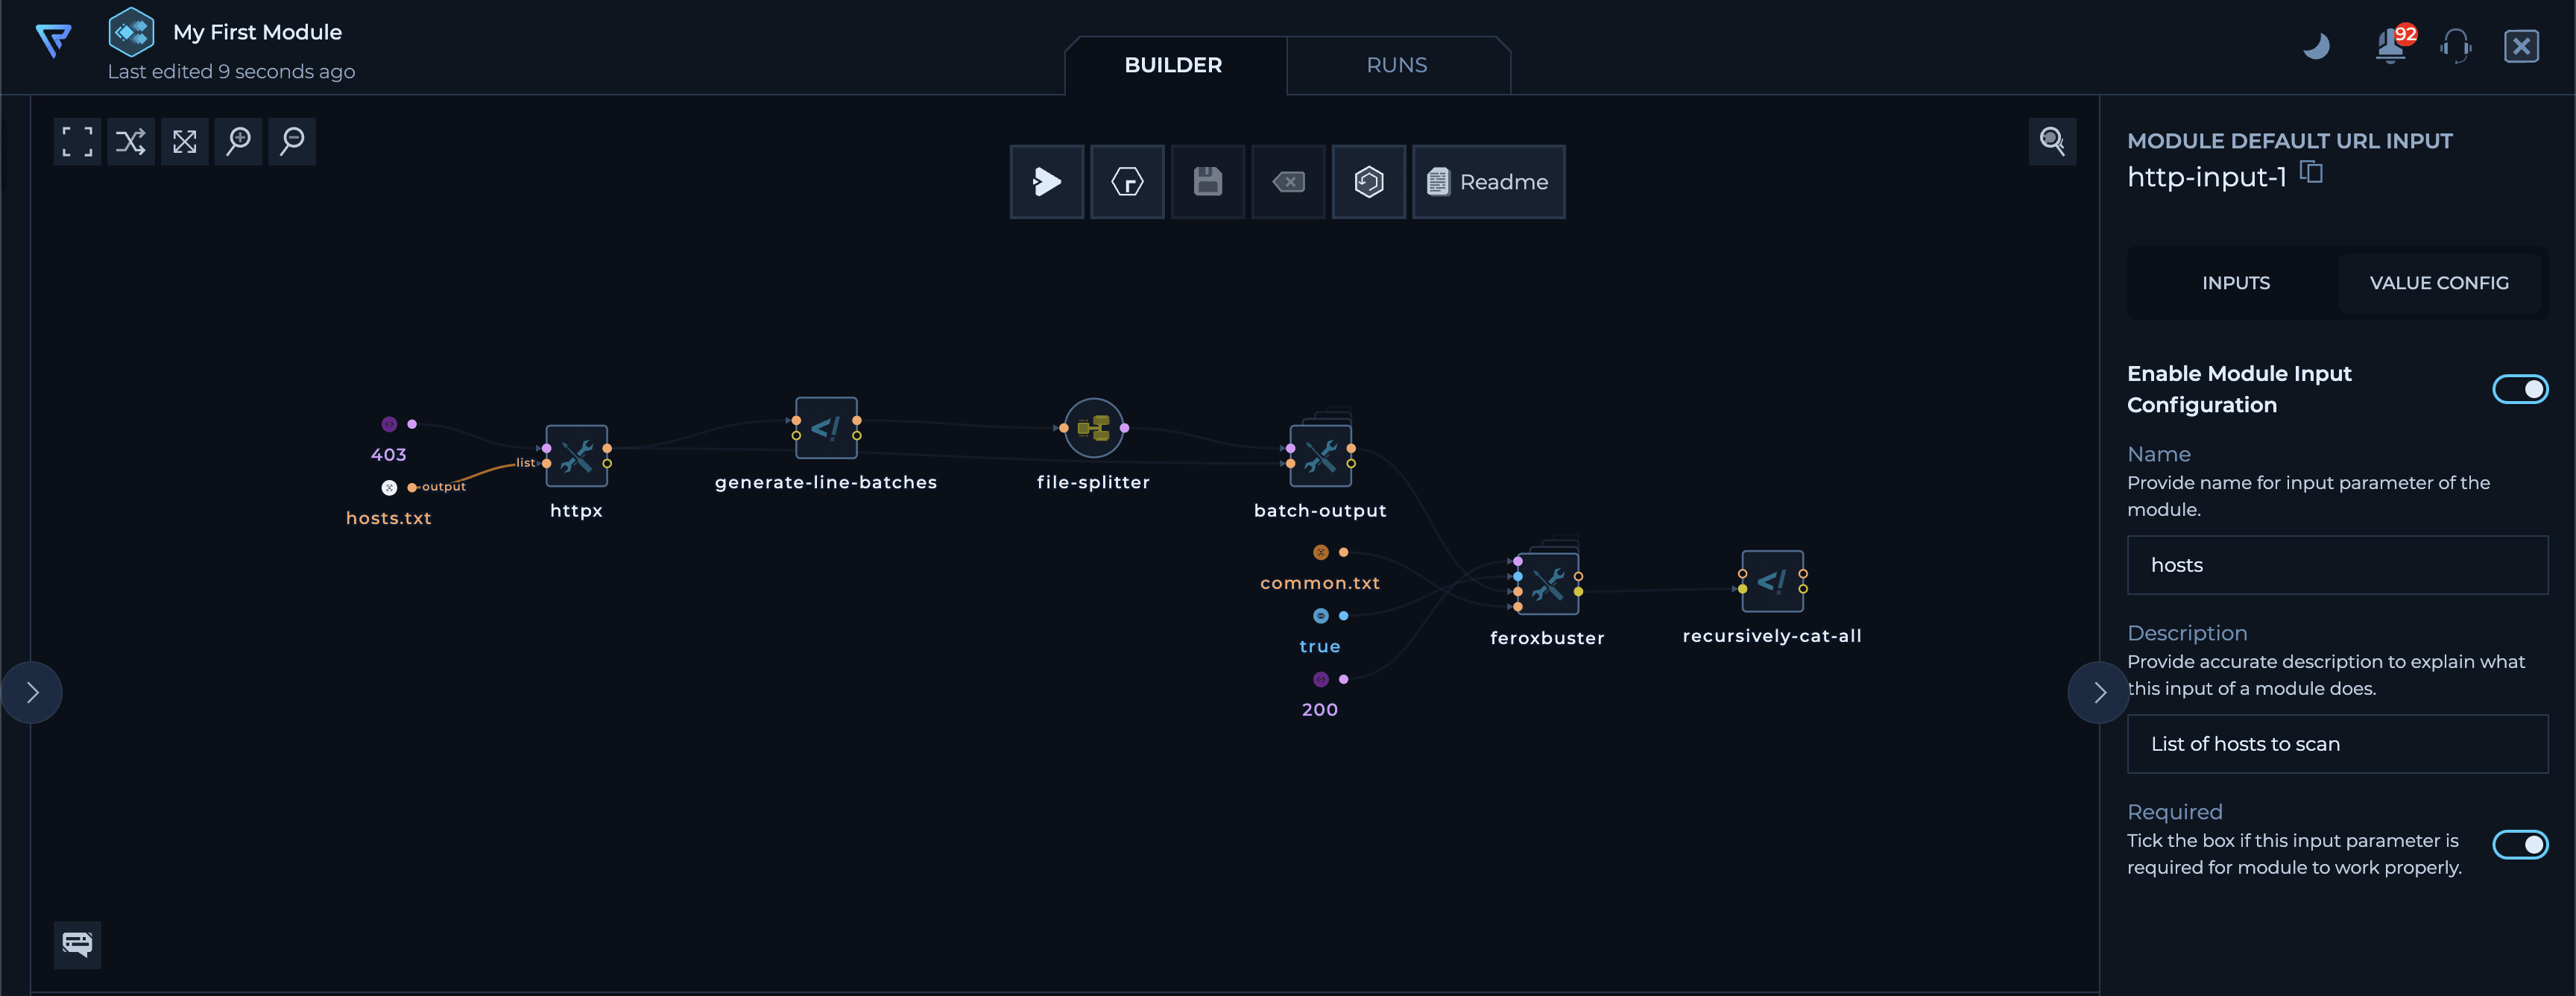
After building your workflow, it’s time to define the inputs. To turn any input node into a module input, select it, go to the “Value Config” tab on the right sidebar, and enable theEnable Module Input Configuration toggle.
Inputs can be required or optional with default values. For this example, make the list of hosts a required input and the wordlist optional. Be sure to give them appropriate names and descriptions.
6. Define Outputs
Next, define the output by dragging from the output port that you want to export. You can define multiple outputs for a module.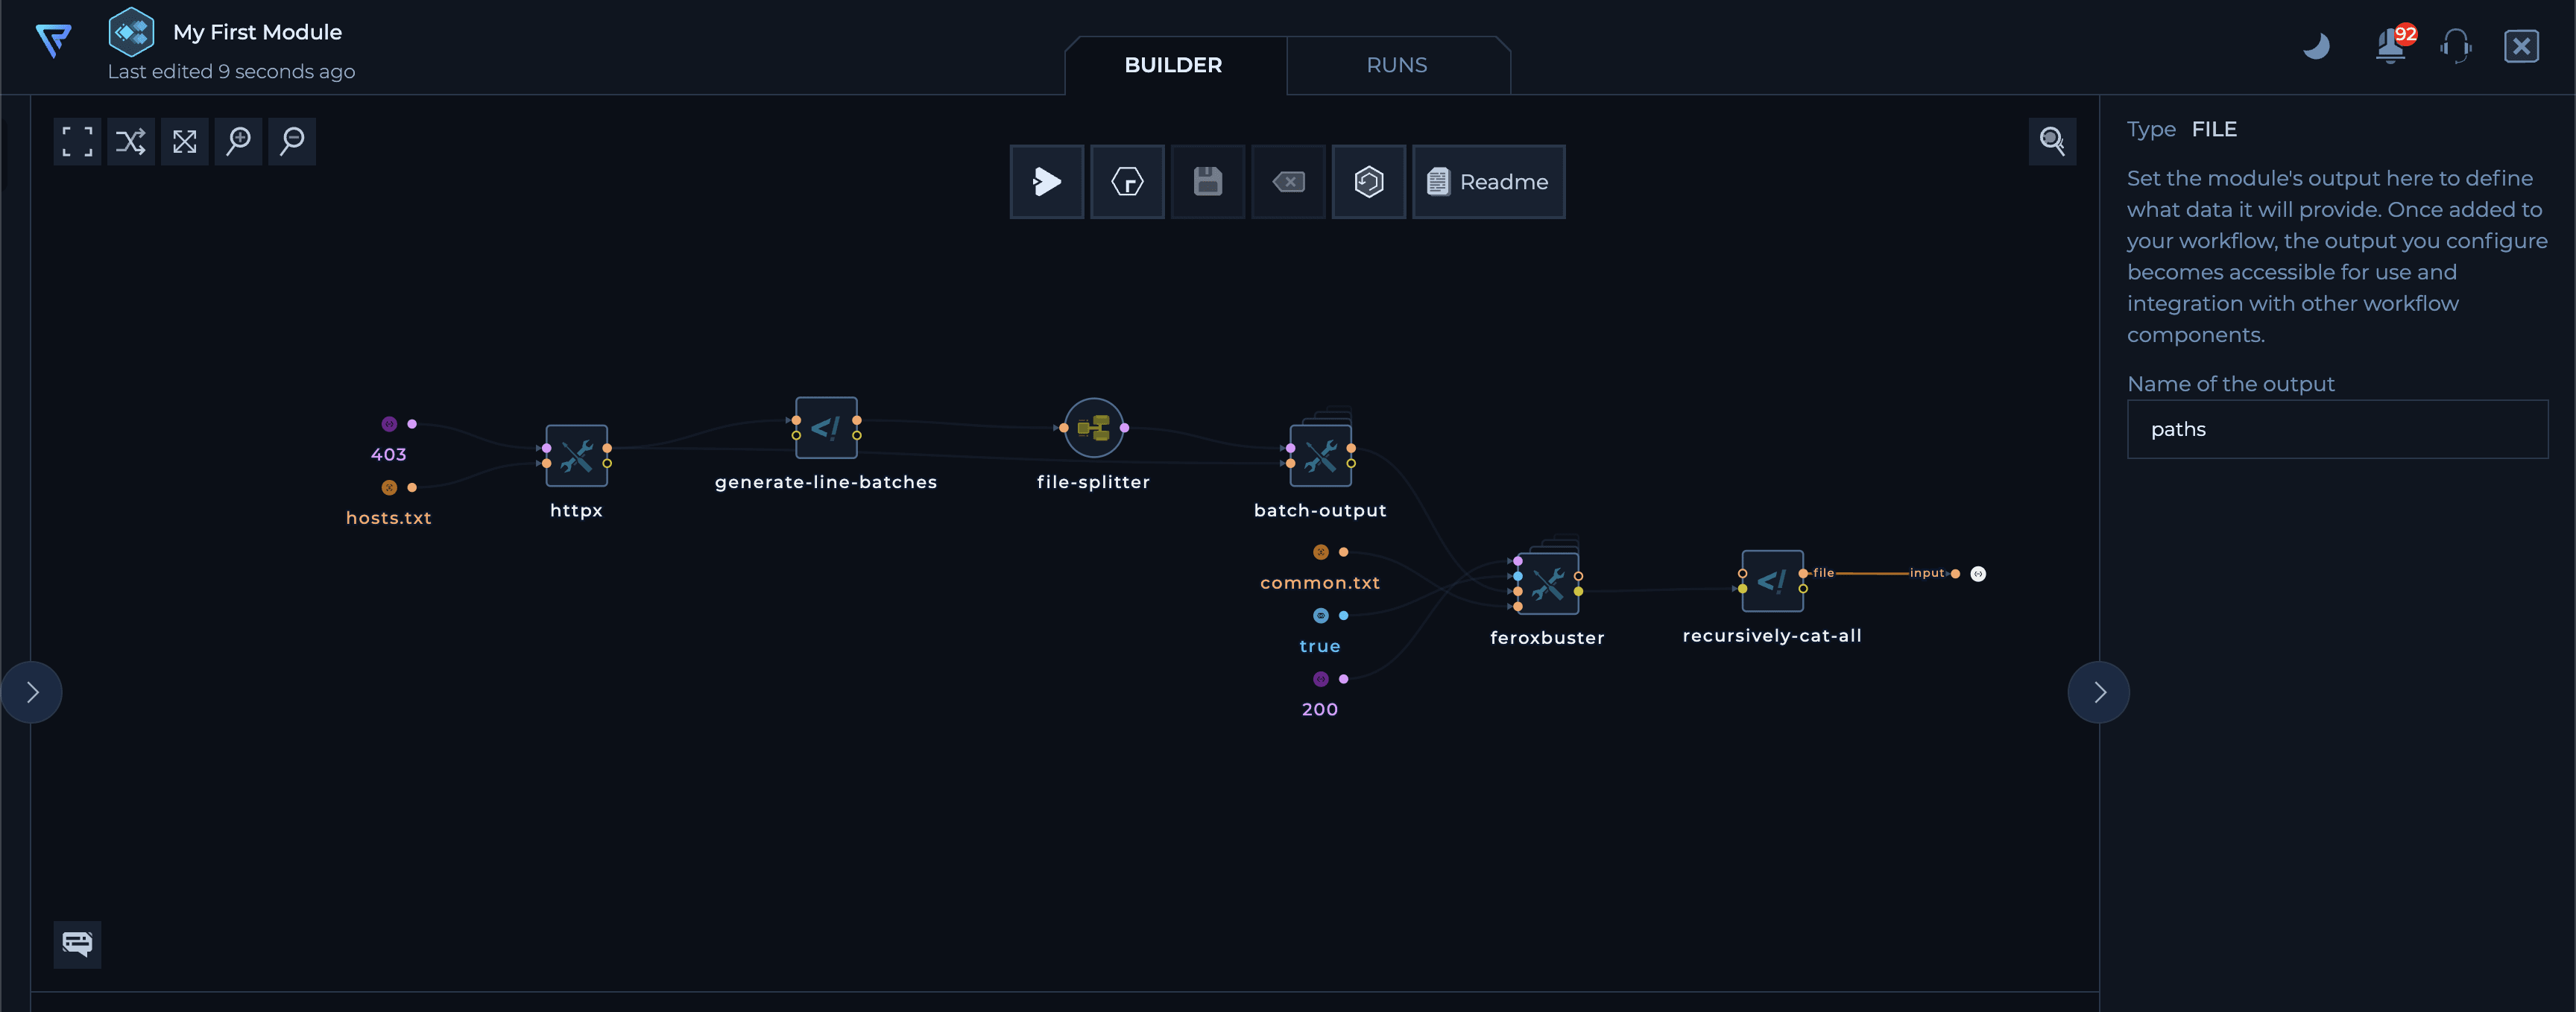
7. Write a README (Optional)
You can add a README section to provide a detailed description and documentation for your module. This is a great way to include usage instructions, example configurations, and any other relevant information.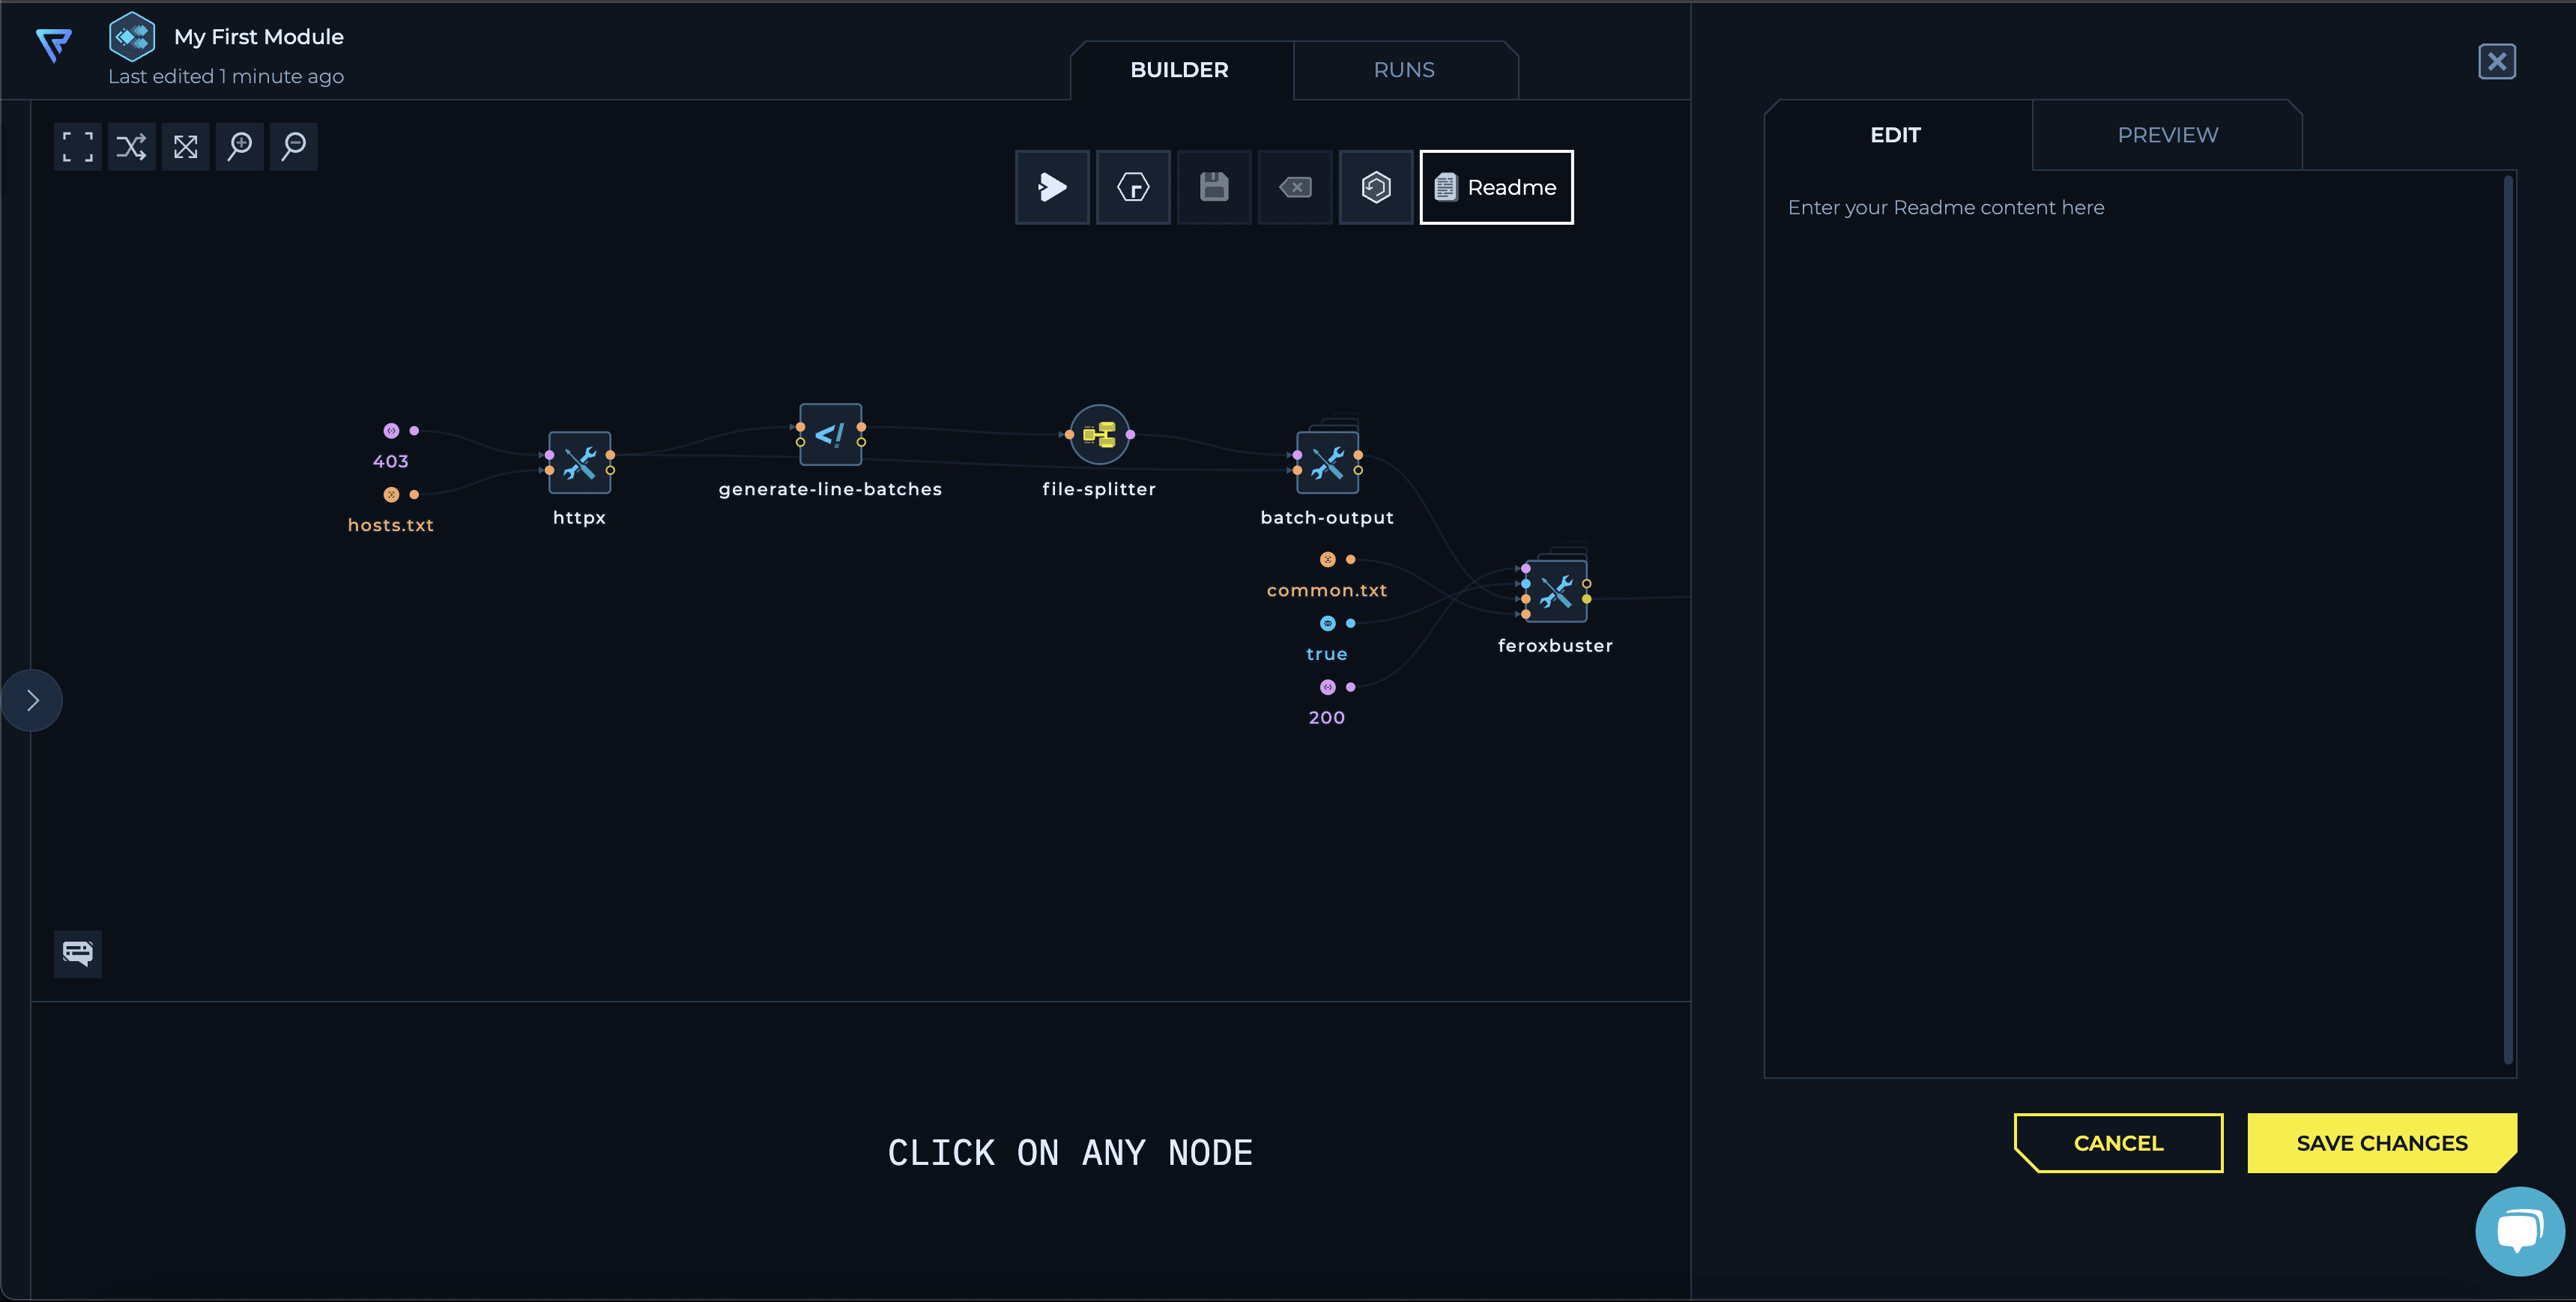
8. Save the Module
Finally, save your module. It’s now ready for use.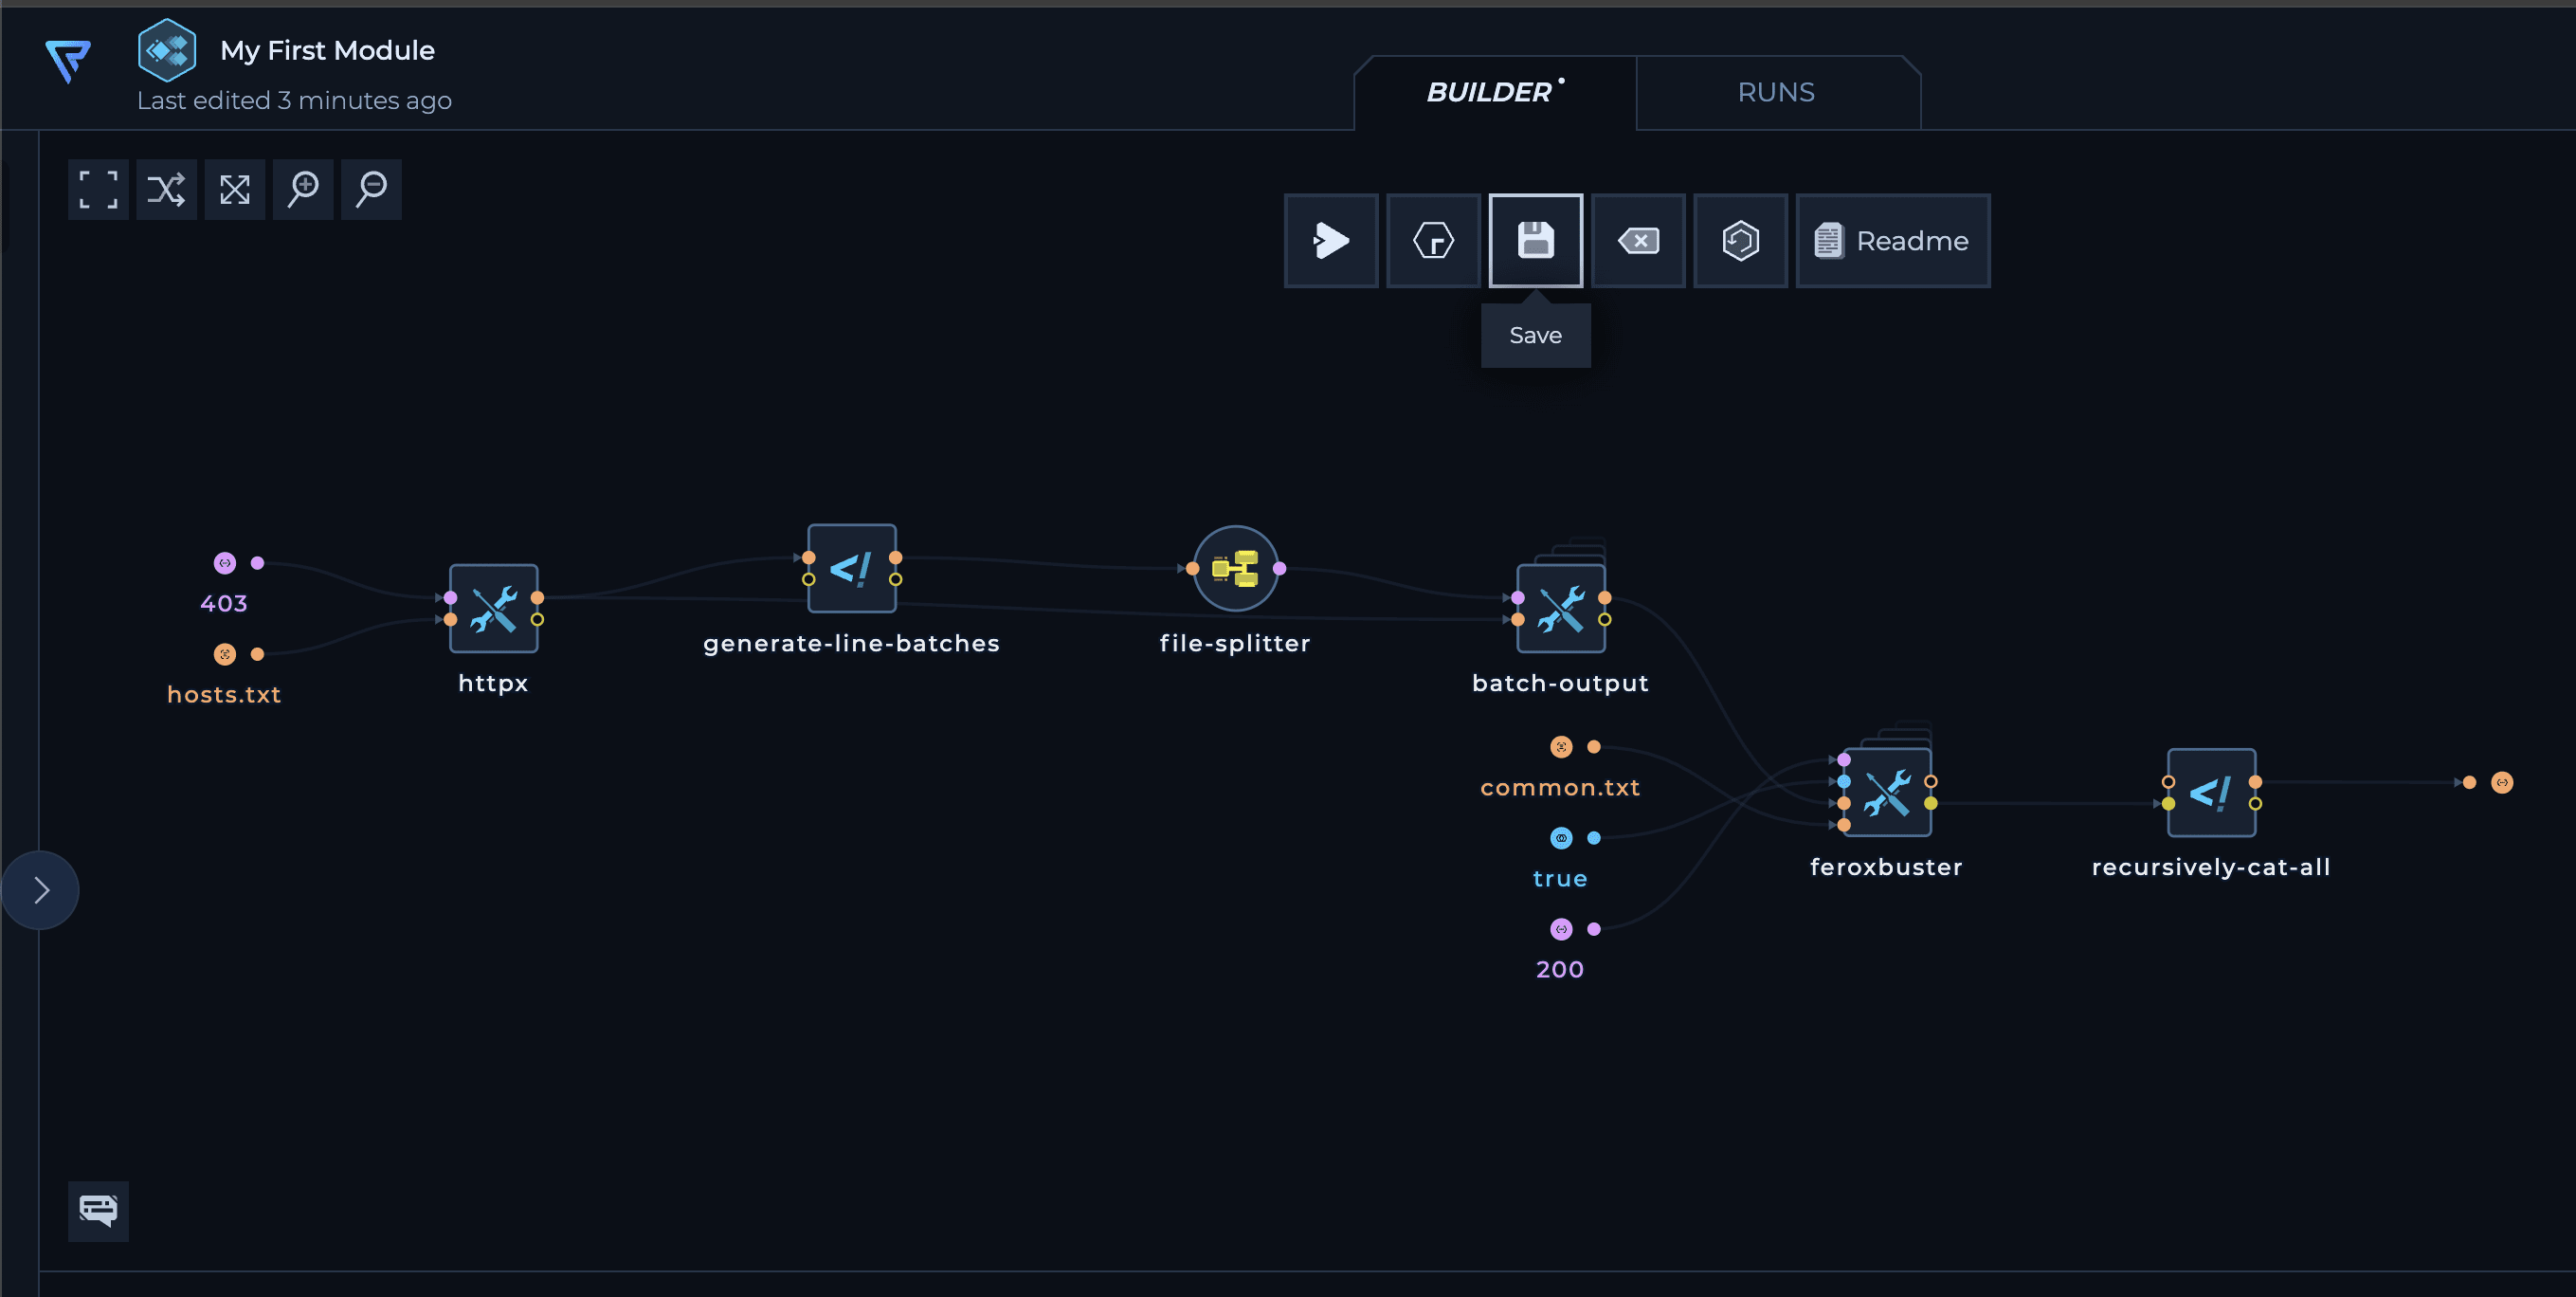
9. Use Your Module
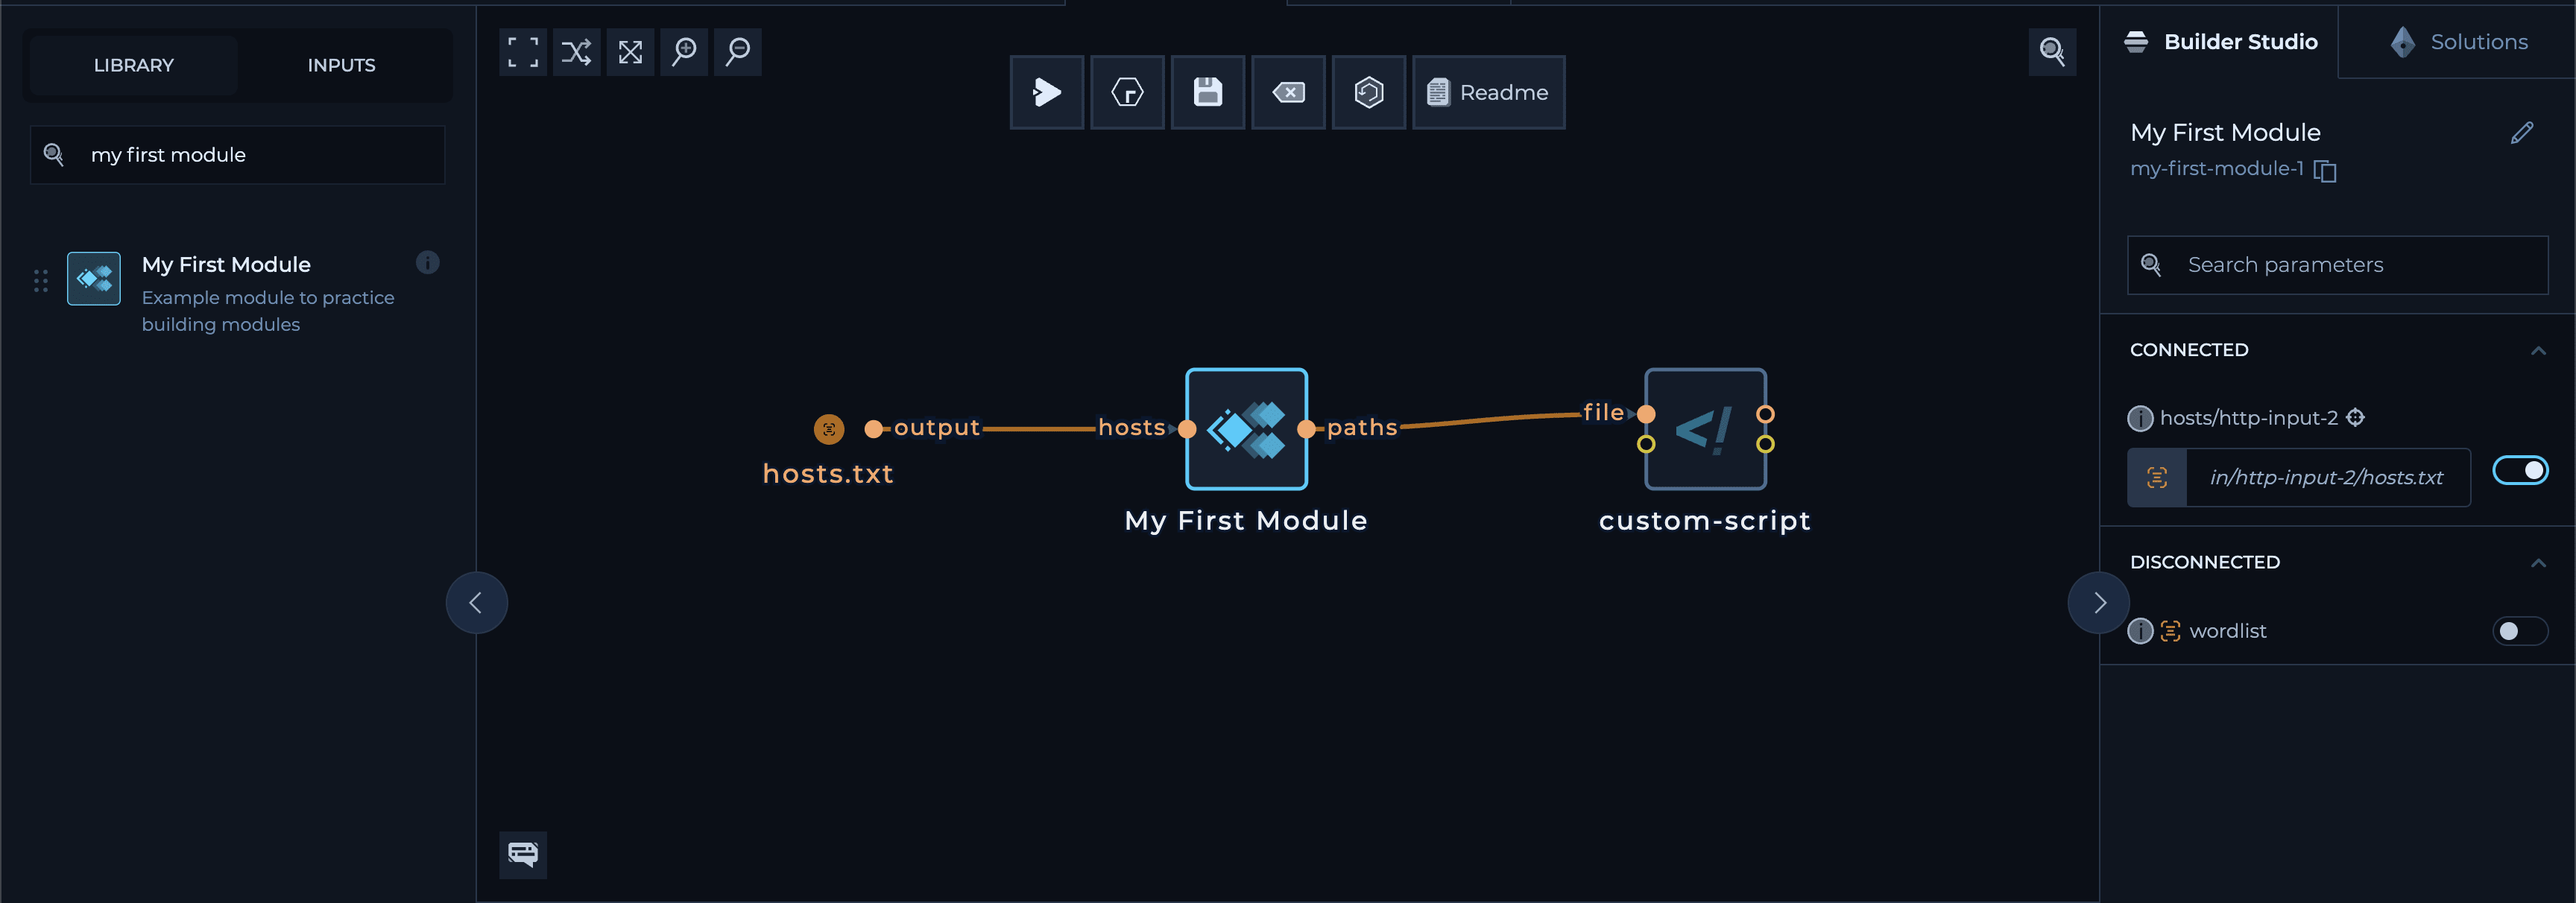
When you’re in another regular workflow, your new module will appear in the library sidebar. You can find it in theModules section or search for it using the search bar.
Drag it into the workflow, connect the input(s) and outputs as needed and run it.
Scaling Modules via Dynamic Batching
To scale workflows on Trickest, you’d usually use three key nodes:file-splitter, batch-output, and generate-line-batches (or its variant, generate-number-of-batches), as shown in the example workflow and in the documentation
Here’s a quick reminder of how these nodes work:
generate-line-batches: This node calculates line ranges to extract from the input file for each iteration based on the batch size you set. For instance, if you set a batch size of 2 for a file with 10 lines, it will create 5 batches of 2 lines each.generate-number-of-batches: This node works similarly but allows you to specify the number of batches to create rather than the length of each batch.
batch-output: This node extracts the actual lines corresponding to the calculated ranges from the input file.file-splitter: This node processes each chunk of the file created bybatch-output, spinning up new iterations of the connected nodes. These iterations are then distributed among the available machines to run in parallel.
generate-line-batches node with a batch size of 500, and you run it on a file with 1000 lines using 50 machines, the workflow will split the input into only 2 chunks of 500 lines each. This means only 2 machines will be used, while the other 48 machines sit idle. To fix this, you would need to manually adjust the batch size to a smaller number, like 20, to use all your available machines effectively.
To solve this problem, we’ve introduced a new script, called batch-ranges, that calculates batch sizes automatically. Instead of you manually setting the batch size, the script considers the number of machines and the number inputs to determine the optimal batch size for you.
By default, batch-ranges calculates the batch size by simply dividing the number of inputs by the number of machines, aiming to distribute the workload evenly. However, this method might not always work perfectly. If there are too few machines or too many inputs, the batch size could become too large, leading to performance issues or out-of-memory errors.
To handle this, you can set two limits for batch-ranges using Python constants at the start of the file:
MAX_BATCH_SIZE: The maximum number of lines per batch. Set this number based on what’s safe and manageable for the tools and scripts in your workflow to handle without performance or memory problems.MIN_BATCH_SIZE: The minimum number of lines per batch. The default value of 1 is generally safe, but if a node has significant overhead (like pulling large amounts of data from an external source or querying an API that supports batching), you might want to increase this number to make sure each iteration has enough inputs and avoid unnecessary iterations.
Module Updates
When you update a module, the changes are automatically applied to all workflows using that module—everyone benefits from the latest version right away. However, if you change the module’s inputs or outputs, this automatic update won’t happen. In this case, the workflows using the module won’t know how to use the new version and will stop working until you manually update them.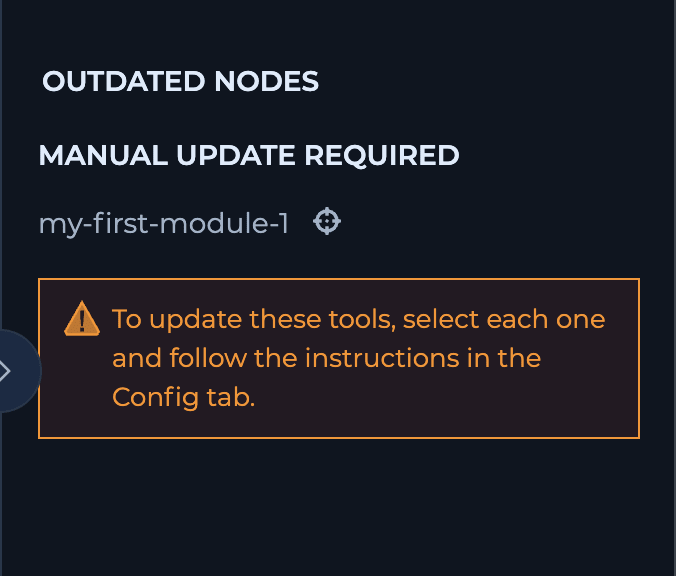
Tips for Module Development
Here are a few handy tips to keep in mind while developing your modules and avoid common pitfalls:Validate Your Inputs
When a tool encounters incorrectly formatted or unexpected inputs, it might skip them and proceed, but this isn’t always guaranteed. Sometimes, it could cause the entire process to crash. To avoid this, test how your tools handle inputs and ensure you properly filter or validate them if the tools are sensitive to errors.Design Your Interface Carefully
Keep in mind that changes to inputs or outputs require manual module updates in workflows. Plan your module’s interface carefully and think about the requirements to avoid future headaches.Ensure Consistent Outputs
For modules with similar purposes or output types, use a standard script or function to format outputs consistently. This avoids surprises and ensures compatibility with other tools or databases.Simplify for Your Users
If your module serves multiple purposes or needs to provide different types of data, define multiple outputs. This way, users don’t have to filter or post-process the data themselves.Choose Formats for Easy Processing
Opt for serializable formats like JSON(Lines) and CSV to make your outputs easy for other scripts and tools to use. If a human-readable format is necessary, consider providing both types through multiple outputs. The script environment includes various useful utilities and packages by default to help you format and filter your data: Python Packages (python-script node):- pandas
- tldextract
- oyaml
- bs4
- requests
- scapy
- jq
- yq
- zip
- curl
- rsync
- netbase
- coreutils
- dnsutils
- ripgrep
- pwgen
- whois
- wget
- git
- gron
- unfurl
- anew